My lovely workbench
The only place where i can think
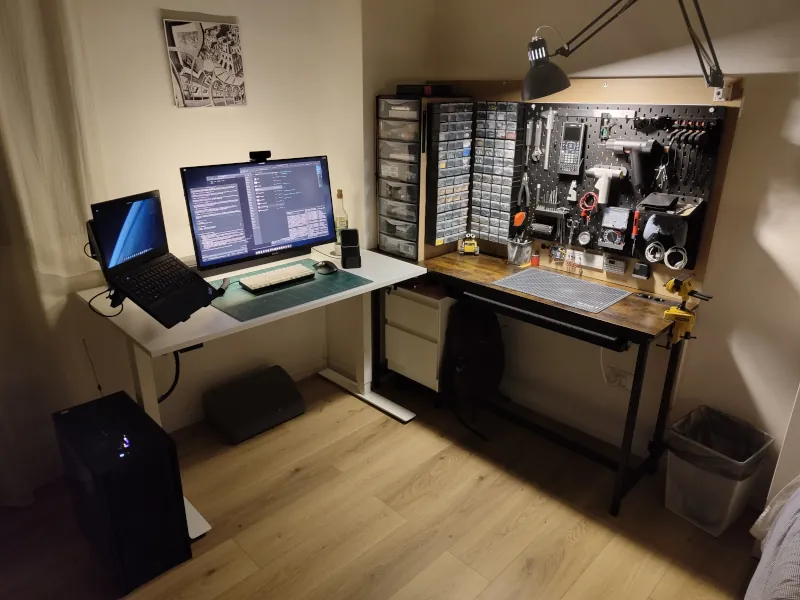
My workbench is my temple. It is a place for thinking and discovering, for coding with a nice playlist, for studying university courses, for hacking things together and having everything organized.

As for every working environment, it is shaped by its function, and the decisions that made it look the way that it does have undergone thousands of retrials. I'm no big designer or anything, but there's a thing that I've come to understand as "the human form", some canon that averages all the earthly proportions, and that is an oracle to which you can go and ask: "Is this thing made right?" You can answer that yourself, and just by testing the thing in examination. If it feels right it is made right. But you really have to test it.
And that is where the shape of the workbench came from. Two surfaces, a main one for computing purposes, and a side one for hacking regards, arranged like an L. A diagram with wirings of all the appliances involved follows.
Main Desk
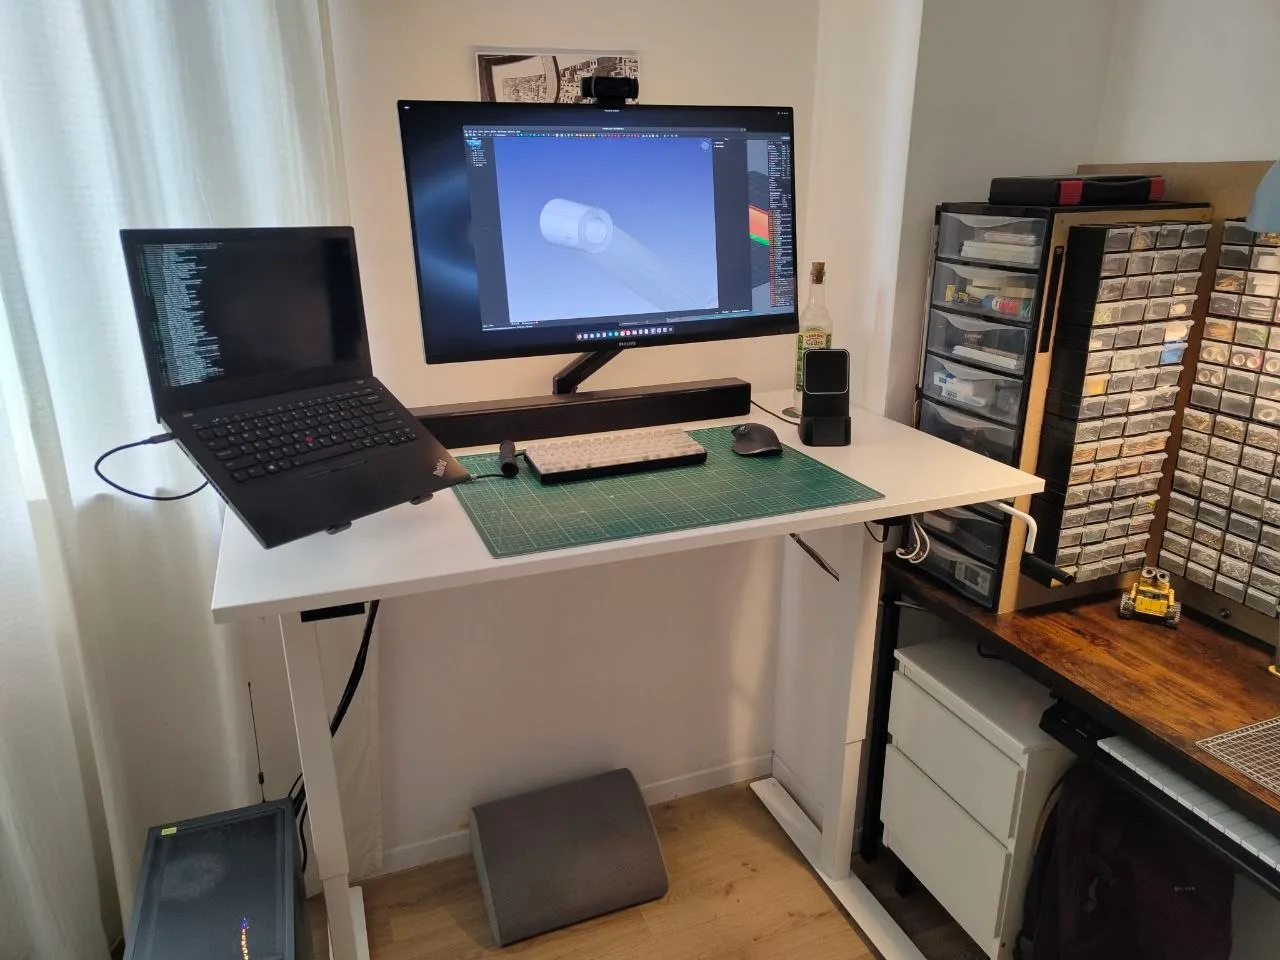
The main desk is a 120x70cm Ikea trotten that ive bought in early 2024 and is the one with the most screens. It's height can be adjusted manually with a lever, from 70cm from the ground to... pretty high up, I havent really tried to max it out. The height that it is mostly set at is 76.5cm, which I've found after countless tweaks to be perfect for sitting and also quiclky arming around things while standing. It might be that I'm not freakishly tall, but I can't complain in both positions at the workbench.
These are the main elements of the main desk:
- A: Desktop computer (Msi z790, i12700k, rtx4060, 48GB)
- B: Display 4k, 28", ips
- C: Sk61s optical keyboard, clear key caps, connected via cable or bluetooth to deskop pc, laptop and phone
- D: Logitech mx master 3s mouse, with free spinning scroll wheel
- E: 60x45 cutting mat
- F: Nothing phone 1, optionally with phisical keyboard
- G: Custom wireless charger
- H: Water bottle
- I: Lenovo thinkpad t480 laptop (i5 8350, 16GB, 84Wh)
- J: Reading glasses
- K: Logitech c920 webcam
- L: Custom raiser handle
- M: Headphones winder
- N: Card readers
There is also a soundbar behind the monitor, that makes some good noise. Here are some related articles of some of the things you can see on the main desk.
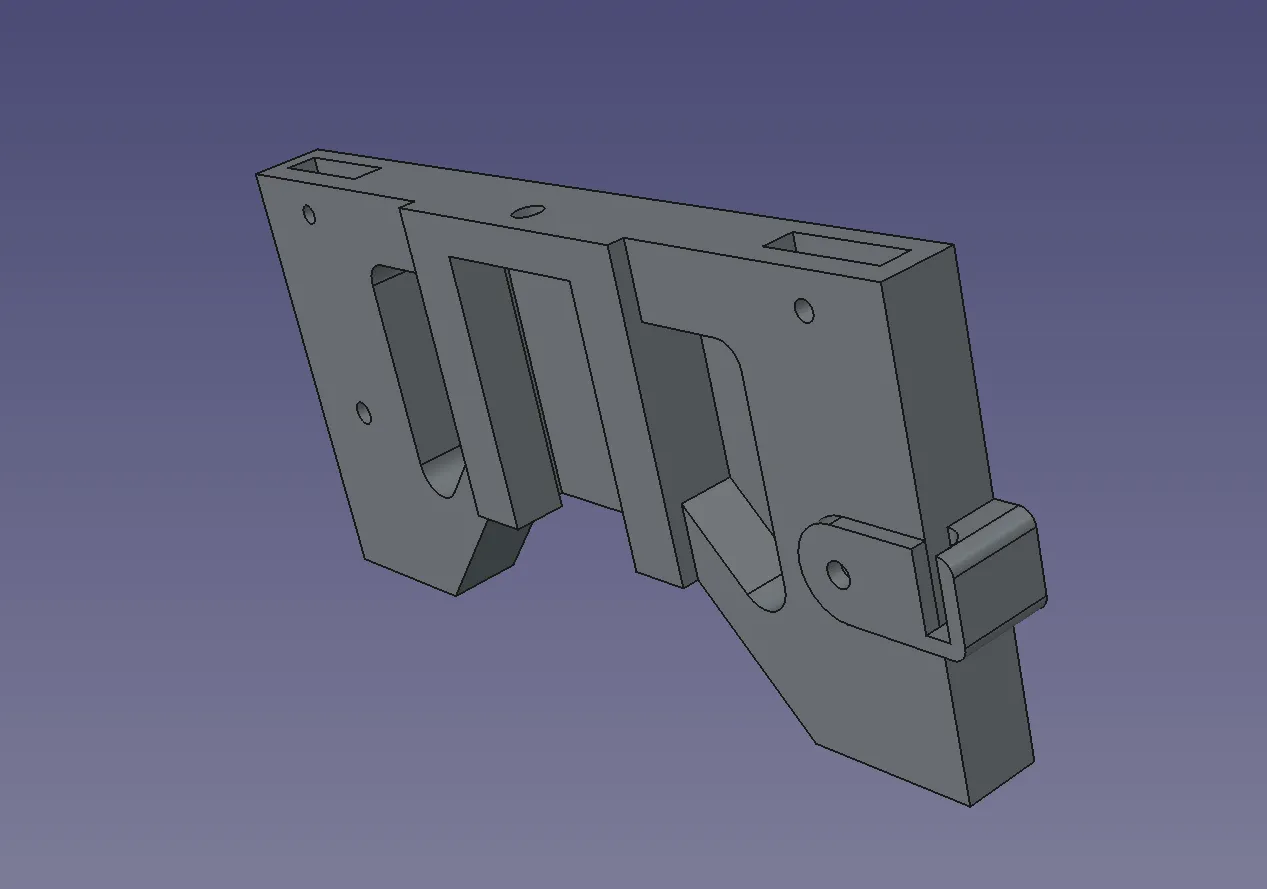
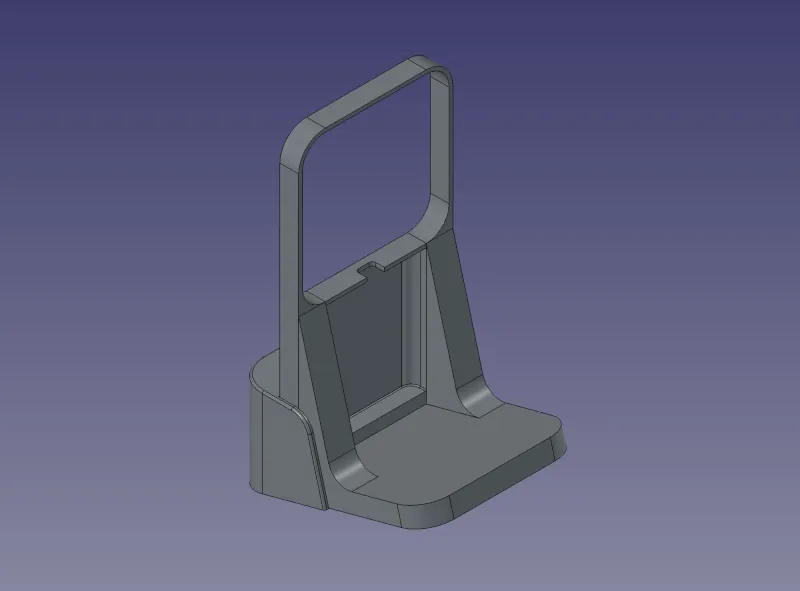
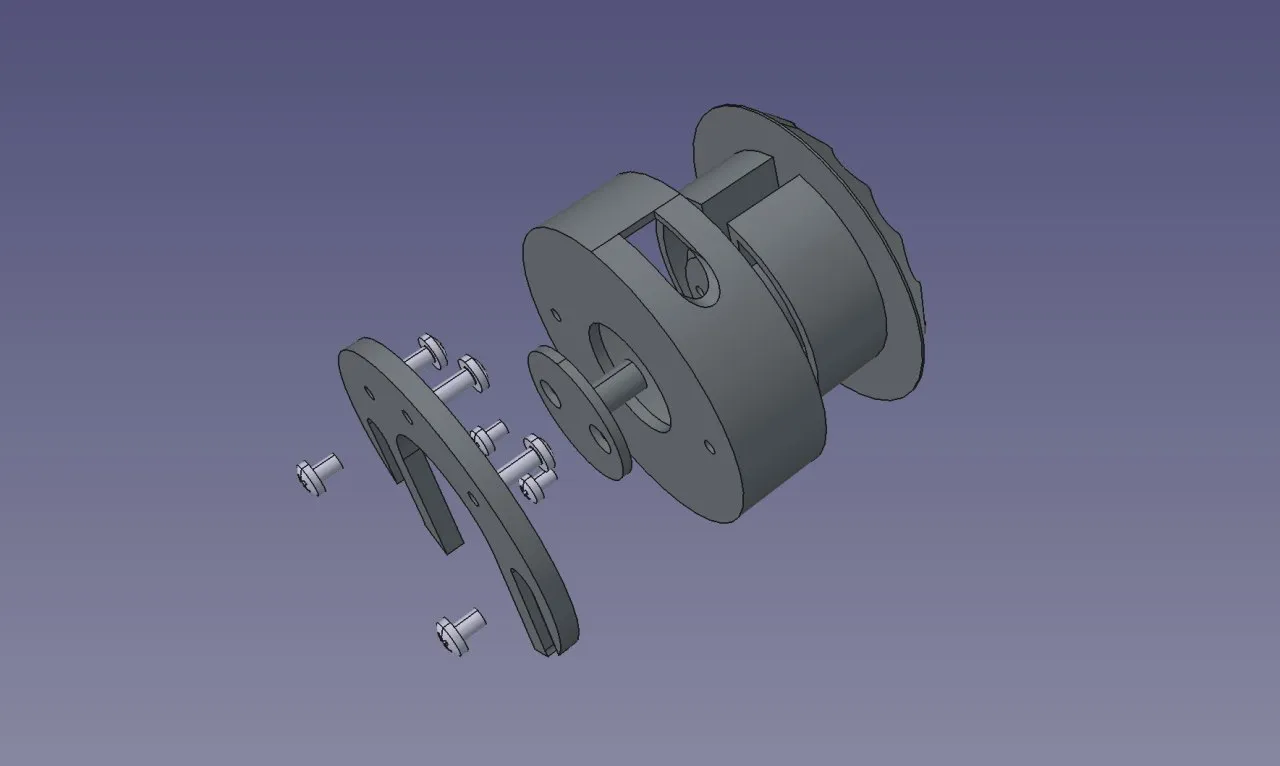
Chair
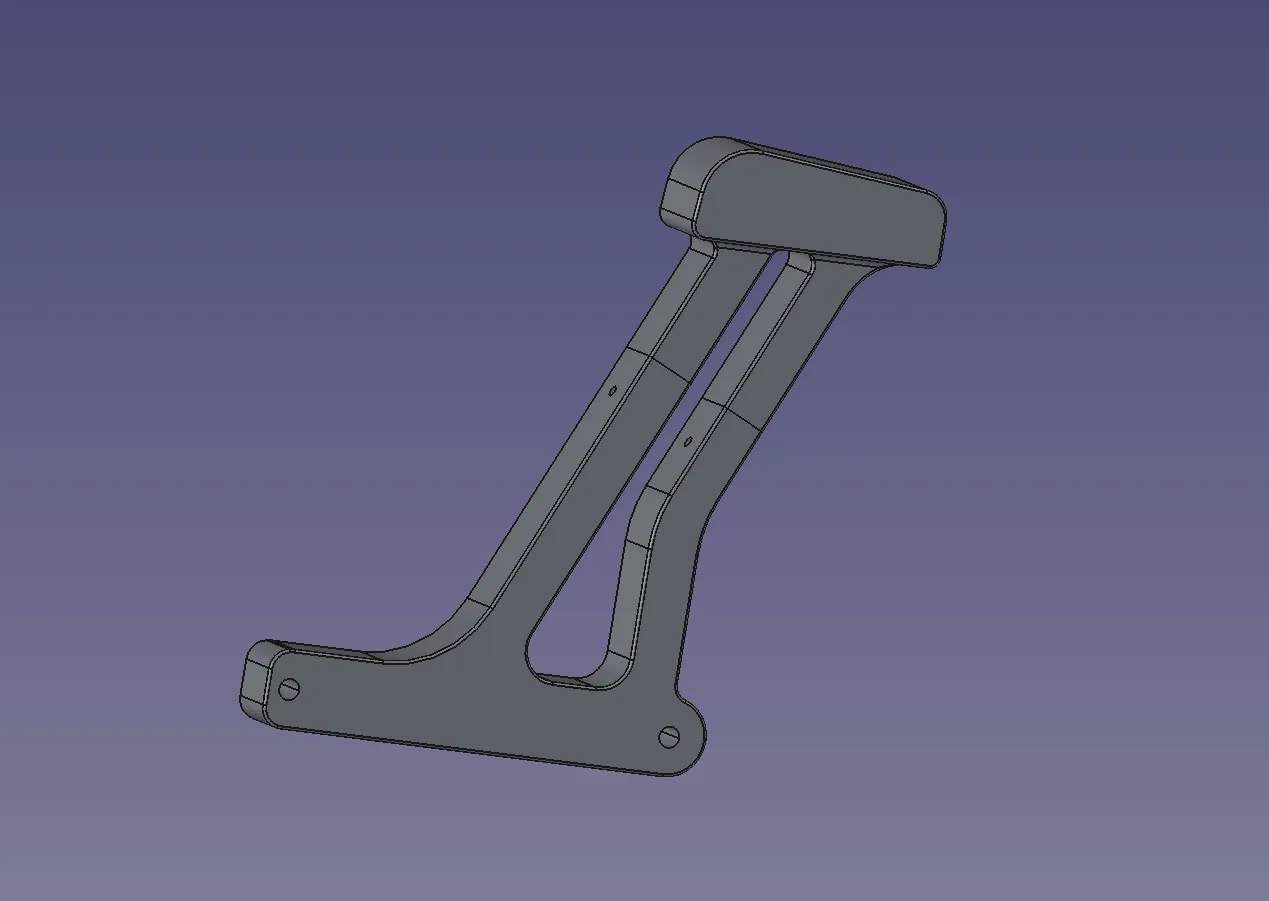
The chair I'm using at the workbench is an Ikea Markus, one of the most sold cheap office chairs, with some custom 3d printed armrests that I've detailed in an article:
Standing functionality
Every now and then I decide to wind the raiser handle all the way to standing position. That is at around 110cm from ground, more if wearing shoes, so that the standing desk is at elbows height, as it should. It is not super stable and it's definitely annoying to manually wind the handle, but sometimes I do use the standing functionality for not becoming shaped like my chair. You can also see the soundbar in this picture.
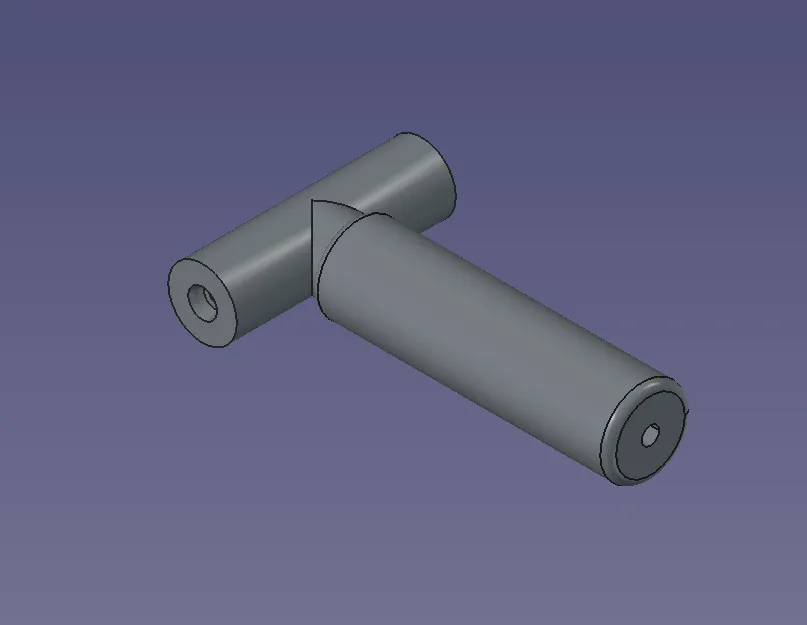
To preserve the functionality for regulating the height with the angled configuration of the two desks, I've made a little modification to the handle. The picture was taken while experimenting with a 3d print of a custom handle, for which there is also a dedicated article.
Cable management
All the appliances at the desk are powered from a single power outlet: the main cable goes under the workbench and there it finds a primary socket, that gives power to the lamp, the workbench power outlet and a secondary socket. It is this one that is depicted below.
- A: Soundbar power supply
- B: Laptop power supply (outputs 65W PD)
- C: Display power supply
- D: Docking station power supply
- E: Desktop computer power supply (I'm kind of guessing here, haven't really followed the cables to know for sure)
- F: Thinkpad universal usb C dock. It has lots of ports and is connected to the desktop pc. It has a 15W-capable usb A port that is connected to yet another hub (not really discernibile from the picture). This one powers things that require to be turned on all the time and that sporadically need to communicate via usb to the main computer
- G: Usb cable that goes from the docking station to the cards reader
- H: Audio cable that goes from the docking station to the headphones winder
Still it's all well be under the proverbial 2000W limit. I even have a free plug over there! That said the organization of cables is pretty terrible, but at least it looks clean.
Side Desk
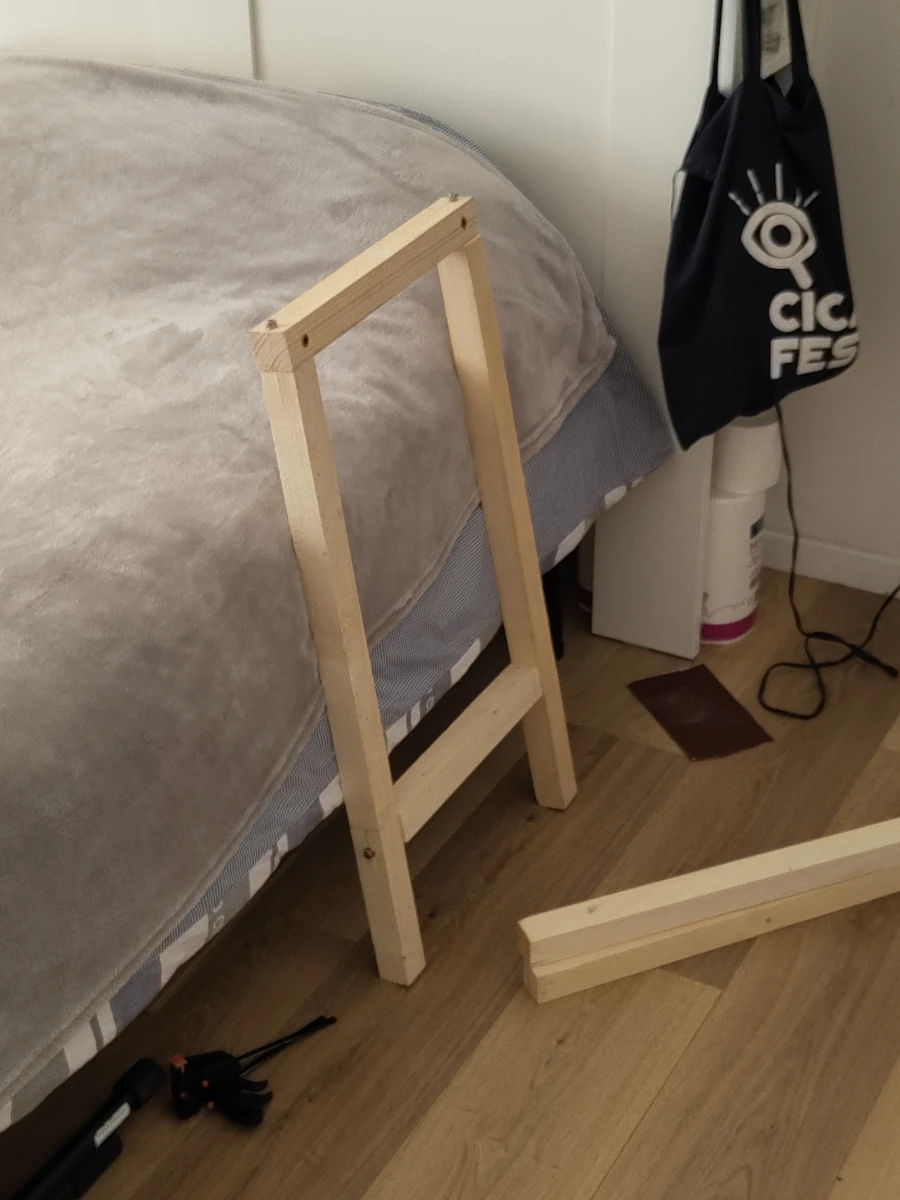
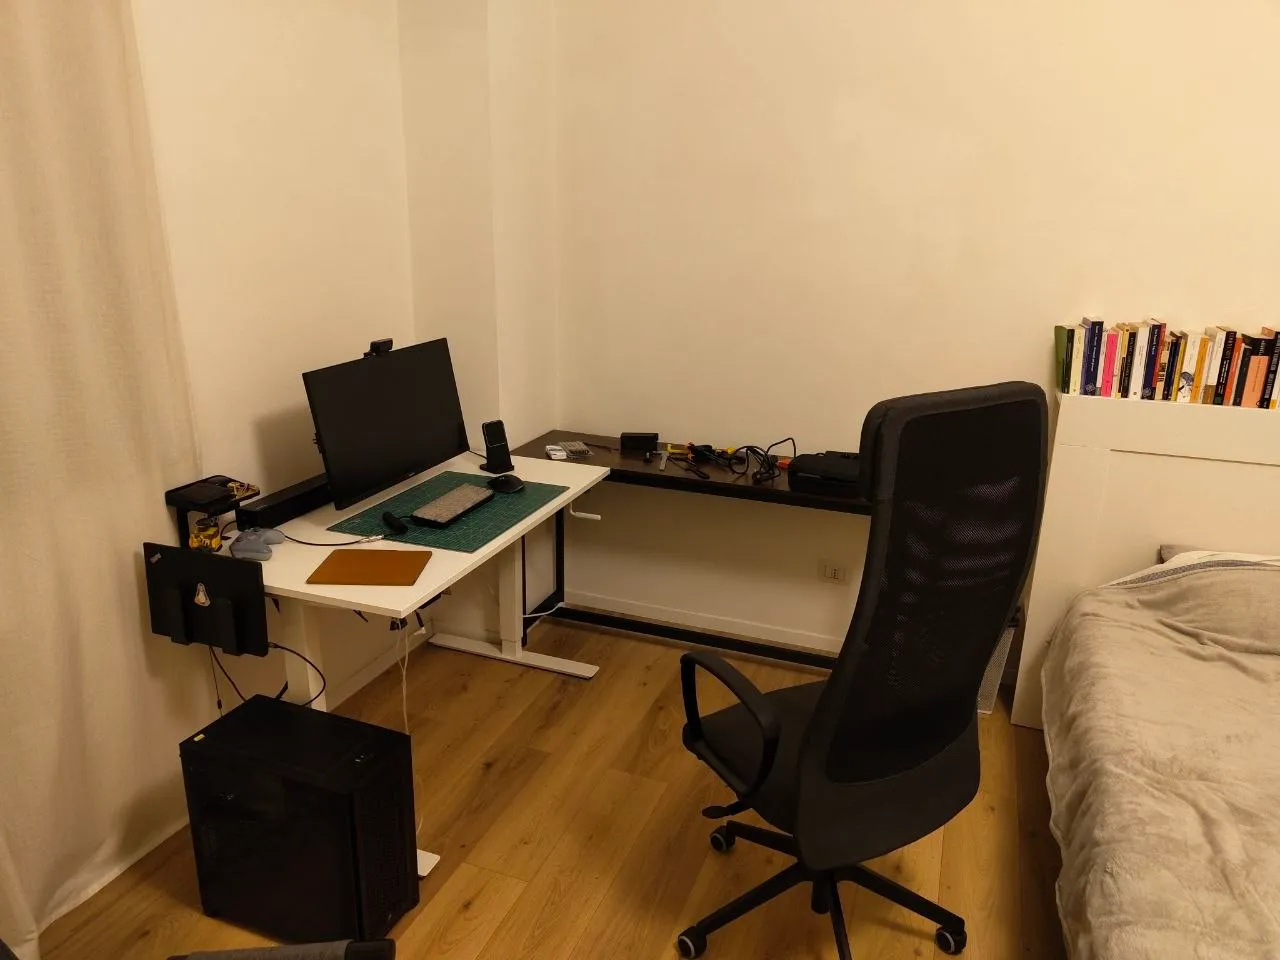
In October 2025 I bought from Amazon a 140x40x90cm table meant for cafes and stuff. It was only 45 euros back then, and really felt like the best option to complete the workbench. My choice was driven by a weird constraint: the column next to the main desk is 45cm wide. So I needed a narrow table in the Y direction, as wide as possible in the X direction and at least 76.5cm tall in the Z direction, as explained above. This cafe table was really perfect, the only thing that was left to do was cutting its legs, after estimating from the pictures that the frame could be adapted. I also made some 3d printed replacement feet for the table, so that the metal wouldn't scratch the floor.
Worktop
The worktop of the side desk lost some 30cm in width in order to leave space for drawers on the lefe, but it's been perfectly sized for every kind of hack I've tried on it.
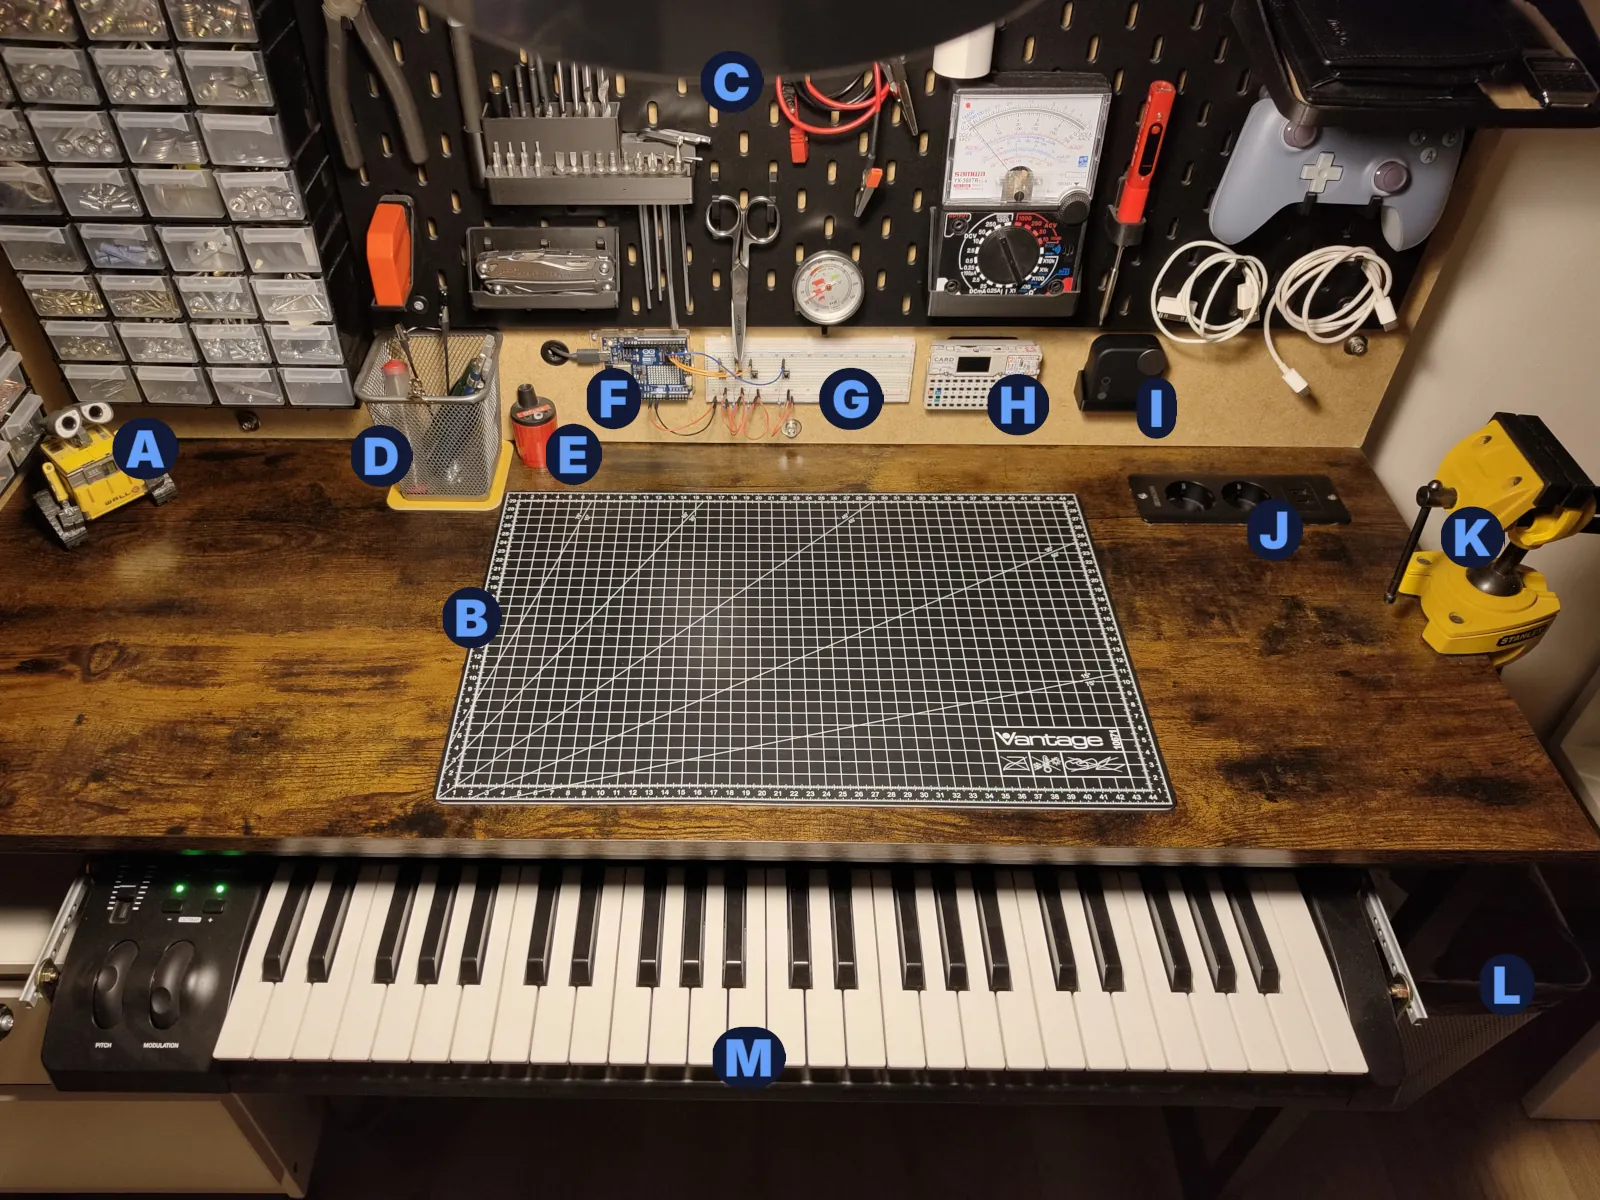
- A: Walle figure, very important
- B: 45x30cm cutting mat
- C: Ikea Tertial lamp
- D: Stationery basket
- E: Mechanical pencil sharpener
- F: Arduino Uno R4 development board
- G: Breadboard with custom buttons
- H: Cardputer
- I: Cmf buds pro 2
- J: Power outlet with 12V usb C PD
- K: Stanley 1-83-069 0-70mm vise
- L: Trash can
- M: M-audio Keystation 48 keyboard. It can retract under the bench when not in use, and it is pretty stable while playing. I've used a pair of drawer slides with angular metal brackets, and those at opposite sides are connected with a thread
The Arduino board at F is used both for prototyping electronics parts and as an extensible controller the working environment. It is kept constantly powered on and connected to the WiFi access point, to control my smart lightbulb and to fetch data from the internet. When the main computer is powered on, it also communicates via serial protocol, and new software can be loaded. More info on it in the linked project:
Pegboard
The main piece of the of the workbench is, evidently, the pegboard. Some have said that it makes the space look like a garage, and that's exactly the look I was aiming for. It is so convenient to pick up a tool when it's there in plain sight, before you knew you needed it and while you have some other things in your hands. I've seen people on YouTube hiding their pegboards behind cabinets or devising some fancy sliding mechanisms for stashing them away, but for the time being I'm down for the garage look.
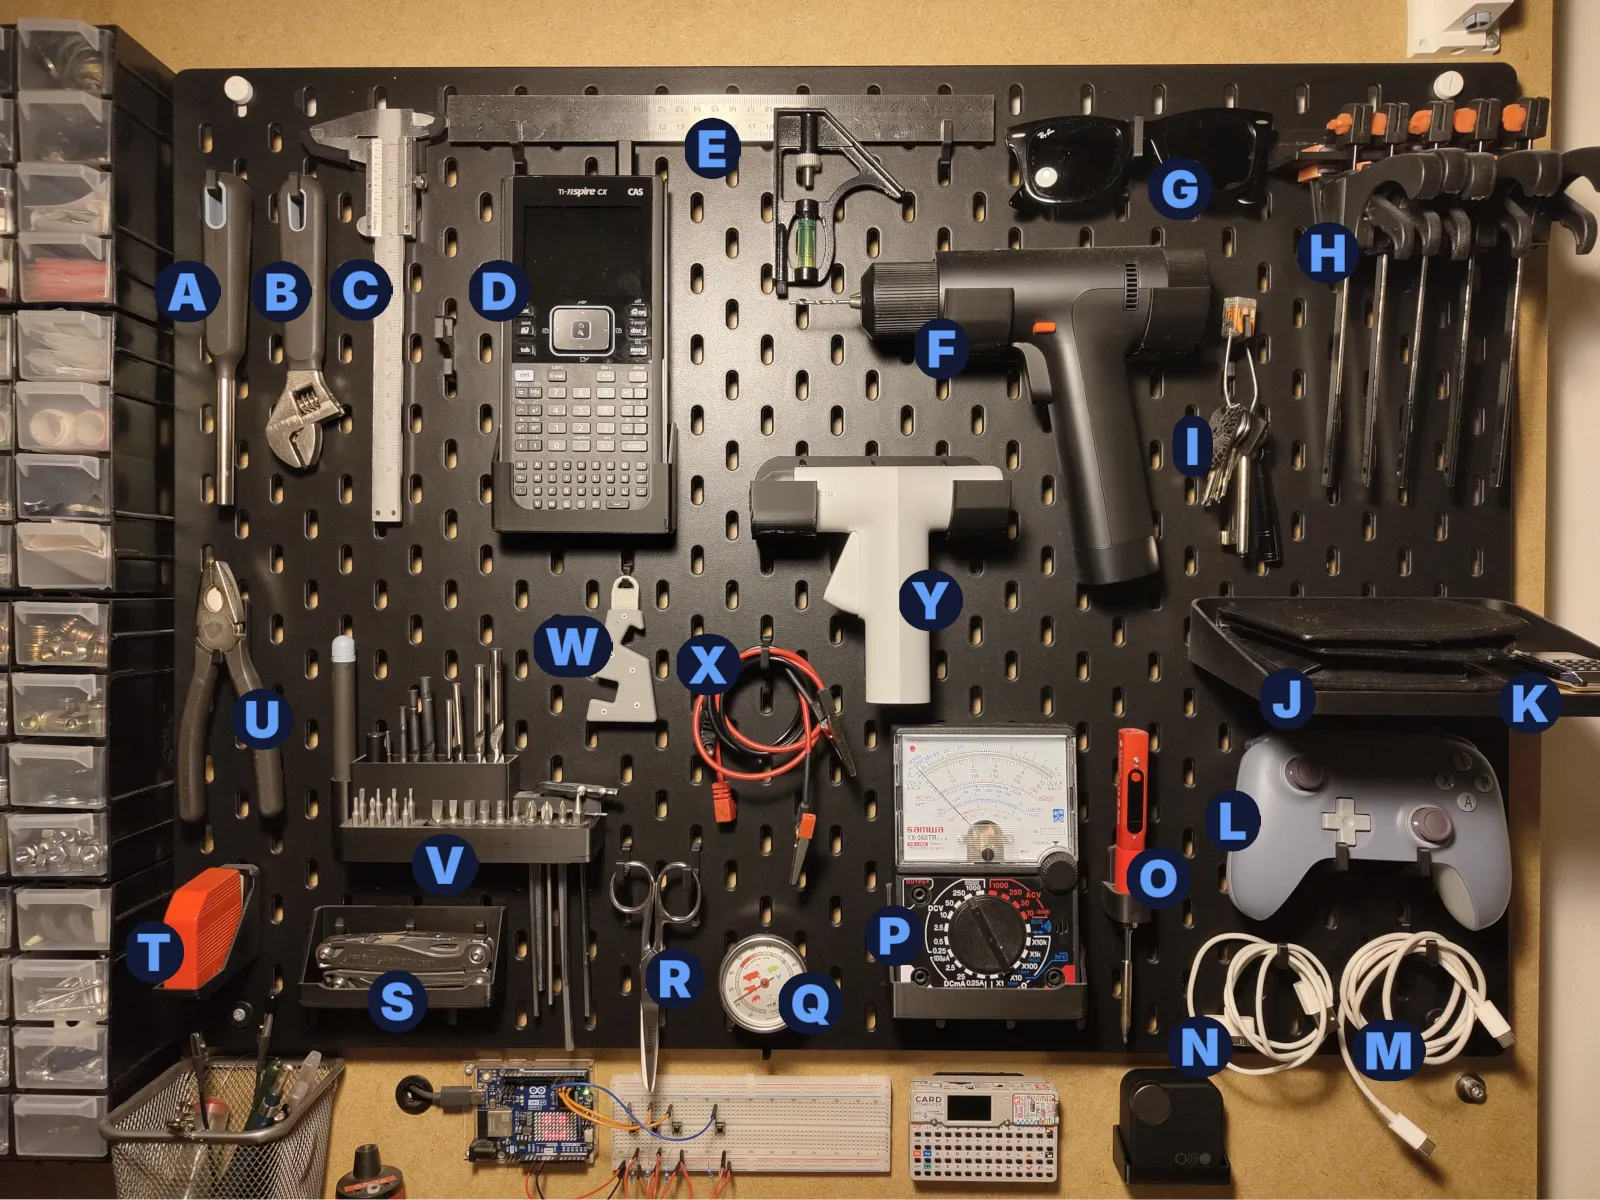
- A: Multi bit screwdriver
- B: 0-20mm Adjustable wrench
- C: Caliper
- D: TI Nspire CX CAS calculator
- E: Carpenters ruler
- F: Xiaomi 12v Brushless Drill
- G: A pair of sunglasses
- H: Clamps
- I: Keys
- J: Wallet
- K: Casio CA500WE wristwatch and alarm
- L: 8BitDo Ultimate 2C controller
- M: USB C to USB C cable
- N: USB A to 30 pin cable
- O: Pinecil v2 soldering iron
- P: Samwa YX-360TR multimeter
- Q: Meat thermometer, shows 22degs
- R: Scissors
- S: Leatherman Wingman multitool
- T: 2m measuring tape
- U: Pliers
- V: Bits Holder
- W: Ikea Yuppienalle holder
- X: Wires with conductive clamps
- Y: Hoto glue gun
Let's inspect the bits holder at V
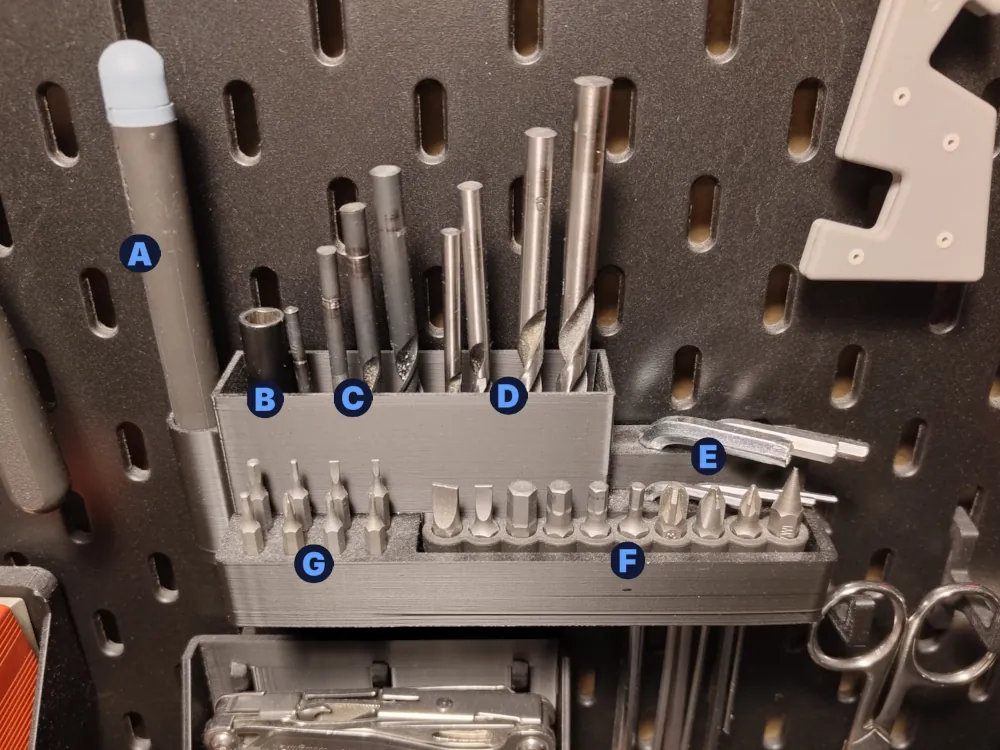
- A: Micro multi bit screwdriver
- B: Drill adapter for screwdriver bits
- C: Metal drill bits 2-5mm
- D: Wood drill bits 3-6mm
- E: Allen keys 0.5-5mm
- F: Screwdriver bits container, that can be taken elsewhere
- G: Micro drill bits
Parts holders
Another element that gives a strong rustic look to the workbench is the two walls of parts holders, that count for a total of 128 little drawers, of 65x45x30mm each. Having so many little compartments really is handy to sort stuff out. Most of the sections don't have a cohesive theme, except for a couple that you can see in the image.
- A: Electronics components
- B: Nuts and bolts
- C: Sawing material
Drawers
For bigger stuff that can't find a place in the parts holders, the workbench provides 8 bigger drawers, that measure 210x297x70mm each. These are clearly measurements apt for storing a4 paper documents, but I tend to put every other kind of stuff in there, or any kind that can be put in a plastic box... This side of the bench has also undergone one of the most recent additions, two very narrow shelves that fill the ~4cm gap that was there. The bench has to utilize every inch at its best!
- A: Electronics stuff, integrated circuits, wires and such
- B: Appliances, old phones, most importantly a wireless mouse that is always connected to the computer and that I use when my hands are dirty. The Mx master has a rubberized coating that absorbs every kind of oil, so it's better to keep it clean
- C: Zip ties, plastic bags, bigger bolts, every kind of throwaway hardware
- D: tools. Hacksaw, wooden saw, hammer, files, bulkier screwdrivers
- E: Drill bits and cleaning utensils
- F: Stationary items, and other drill bits
- G: Tapes, glues, 3 kinds of sand paper
- H: Other electronic parts. There's also a very basic oscilloscope in there
- I: Foamed and empty toolbox. Useful for carrying things around
- J: Shelf for a Remarkable 2
- J: Shelf for an iPad 3, and also a clipboard
Bottom chest
Below the drawers there is a little Ikea Malm nightstand, that was repurposed for the workbench. Every piece of furniture has to give in to the bigger scheme. This one in particular had to be slightly modified to fit under the bench: the black rigid bar down there was in the way, so the little pieces of table frame that were cut have been recycled to lift the chest. It just so happened that the size was right, but I'm still about this as one of my biggest feats of engineeric efficientization. The top of the chest acts as a ground for holding some other cables that reside below the workbench, namely the cord for the lamp, the cord for the power outlet of the worktop and the one for the main power strip below the main desk.
- A: This drawer contains nitrile gloves and cleaning products
- B: This drawer contains generic electronic stuffs
- C: The side of the chest has a little hook for backpacks
Printers station
The printer station stands separate from the workbench, on the other side of the room, but it is of great importance for it nonetheless. This little wooden stool was actually my first furniture woodworking creation, and it shows. Its all crooked. I did set myself to fix it some day...
- A: A Bambulab A1 mini 3d printer, it created most of the adapters and hangers that hold the bench together
- B: A Canon pixma mp280 2d printer, it rests mostly in disuse, cause it's missing the magenta pigment in the cartridge and it doesn't work without it
- C: A Radxa rock-3c-based NAS, which will be discussed in another article
- D: A Sonoff ZigBee antenna for having the NAS communicate with a Philips hue lightbulb. Very overkill
Closet
This unit is not part of the workbench either, but the workbench couldn't have been built without it. It is an Ikea Billy shelf that I keep in a wardrobe, which can be closed to minimize visual clutter. I do like a garage aesthetic, but this thing, out of metaphor, would be the messy corner that doesn't get it's justice in an otherwise tidy garage.
- A: Ikea Pruta containers, 2 sets, for 34 boxes in total, with every type of stuff in them (compostable shopping bags, old lego technic pieces, weird cables and whatnot)
- B: An adjustable keyboard stand, that helped very much in the making of the workbench
- C: A very bare wood stash. It used to be more of a rich collection
- D: Sparkling water reserve
- E: A wardrobe organizer, very useful for the thin space left. Keeps, again, every sort of thing
- F: Cleaning products and liquids of various kinds: WD-40, lots of glue, silicon, tints
Closing considerations
I love the workbench, and I've pushed it to the best of my economical availabilities. There is so much cool tooling that I would like to add one day to my shop, a CNC mill, a plasma welder... A guy can dream. But a workbench grows as its tinkerer does.
This more or less detailed description of my workbench was mostly done for taking note of the dispositions of every part and nib that I will have to dismount and move to a new accommodation by the end of the summer. I am pretty happy with all the stuff that I've accumulated, many of them thanks to a paid internship I've done some time ago, many of them thanks to my parents.
Appendix: Evolution of the Workbench
In these slideshows we go through a condensed history of the workbench. These photos start from the paleolithic era to more recent times.
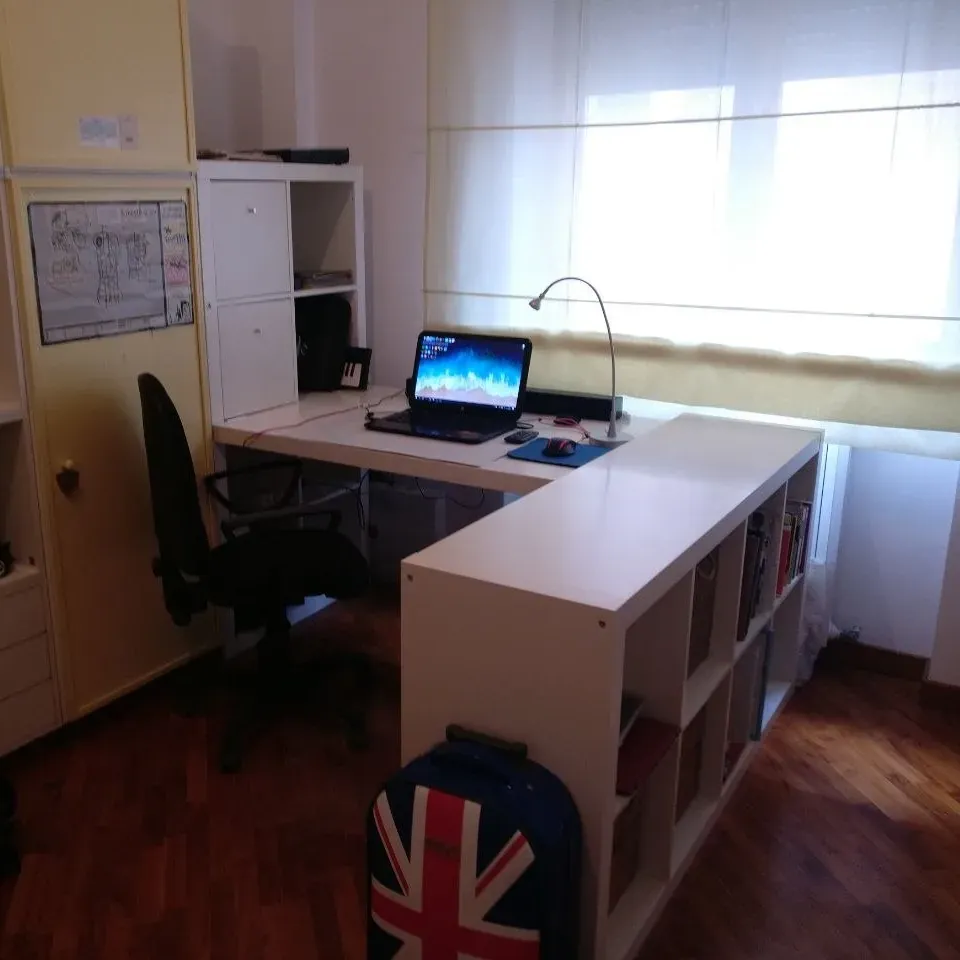
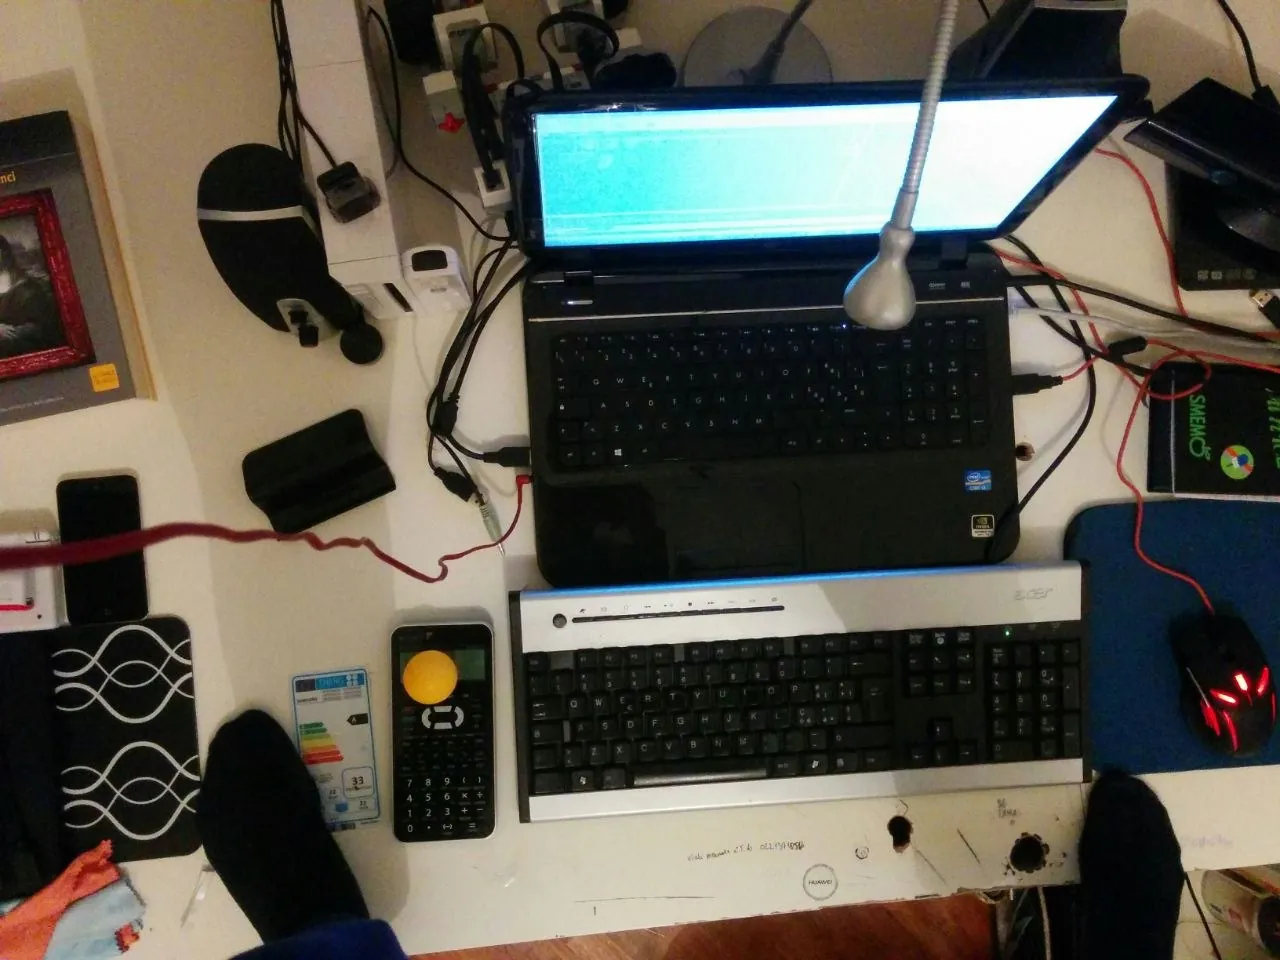
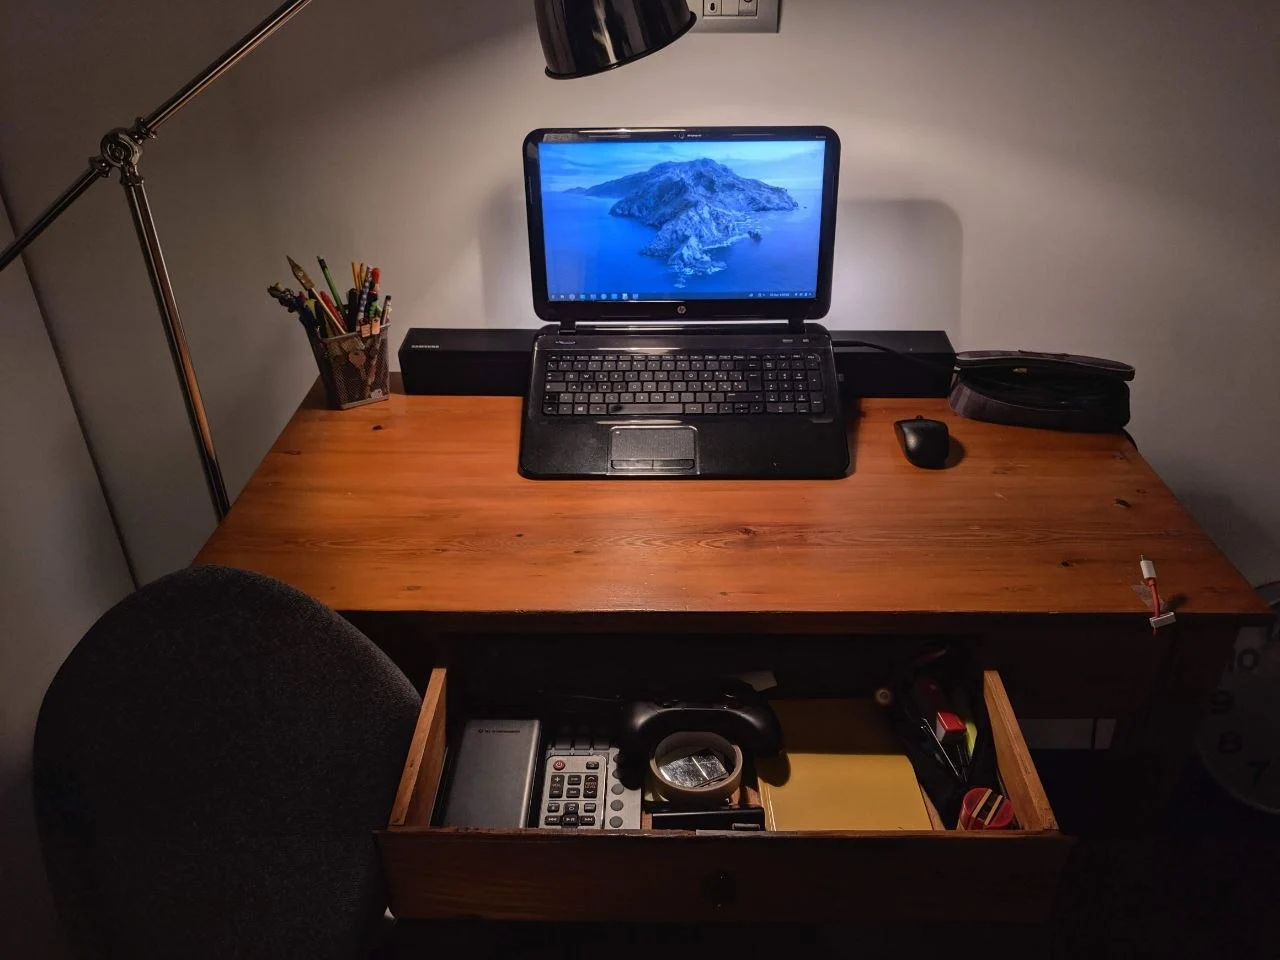
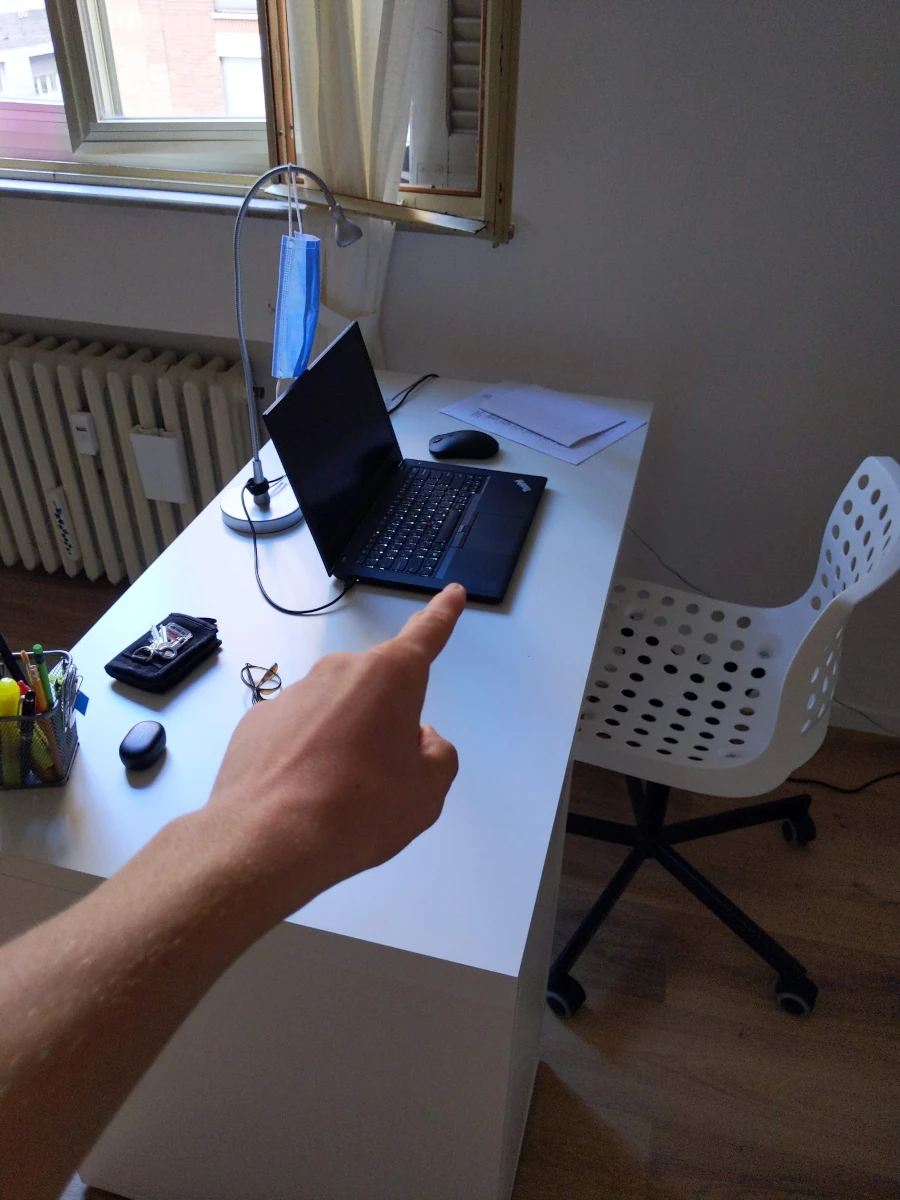
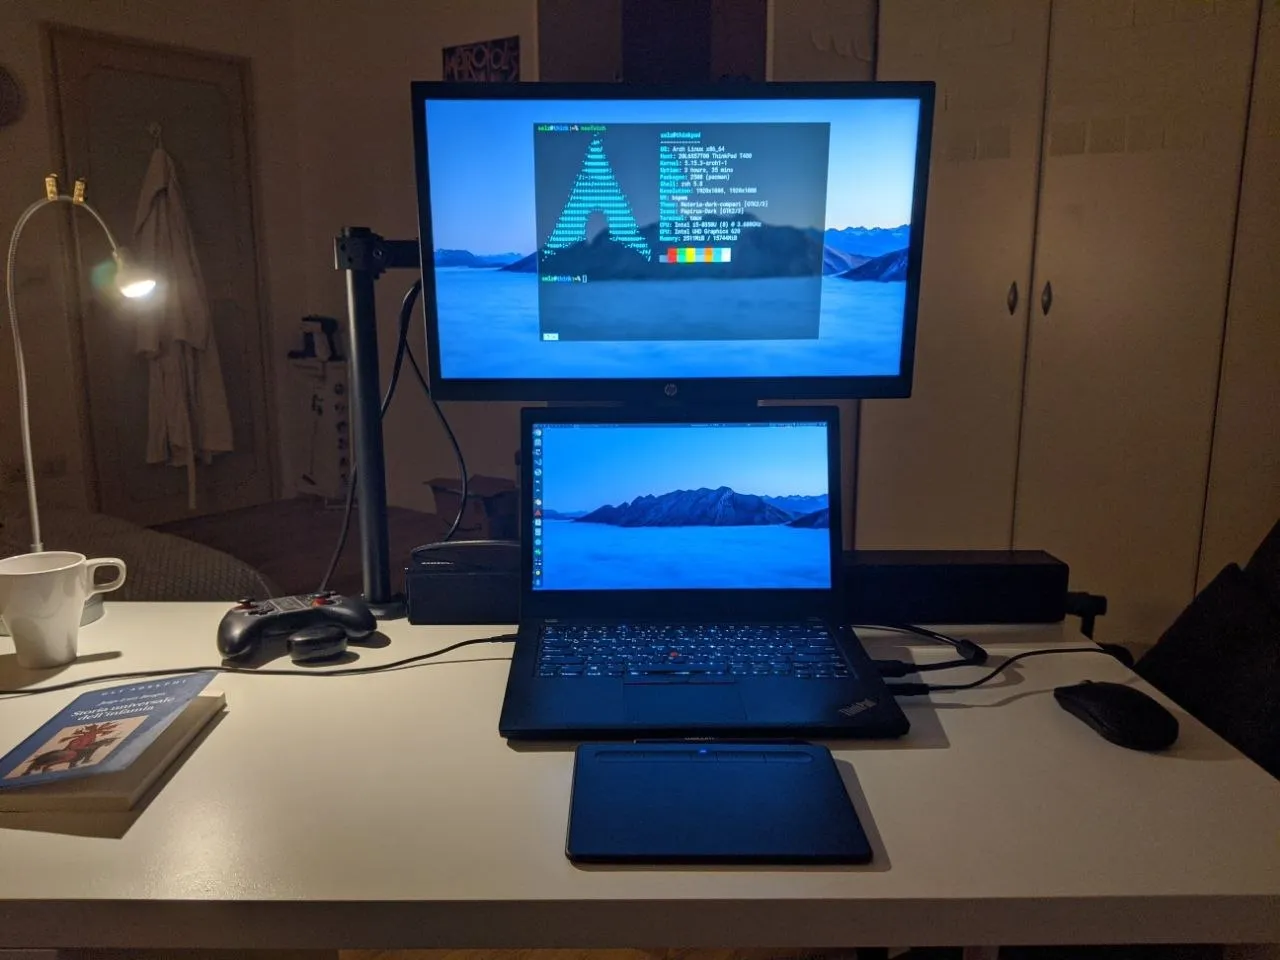
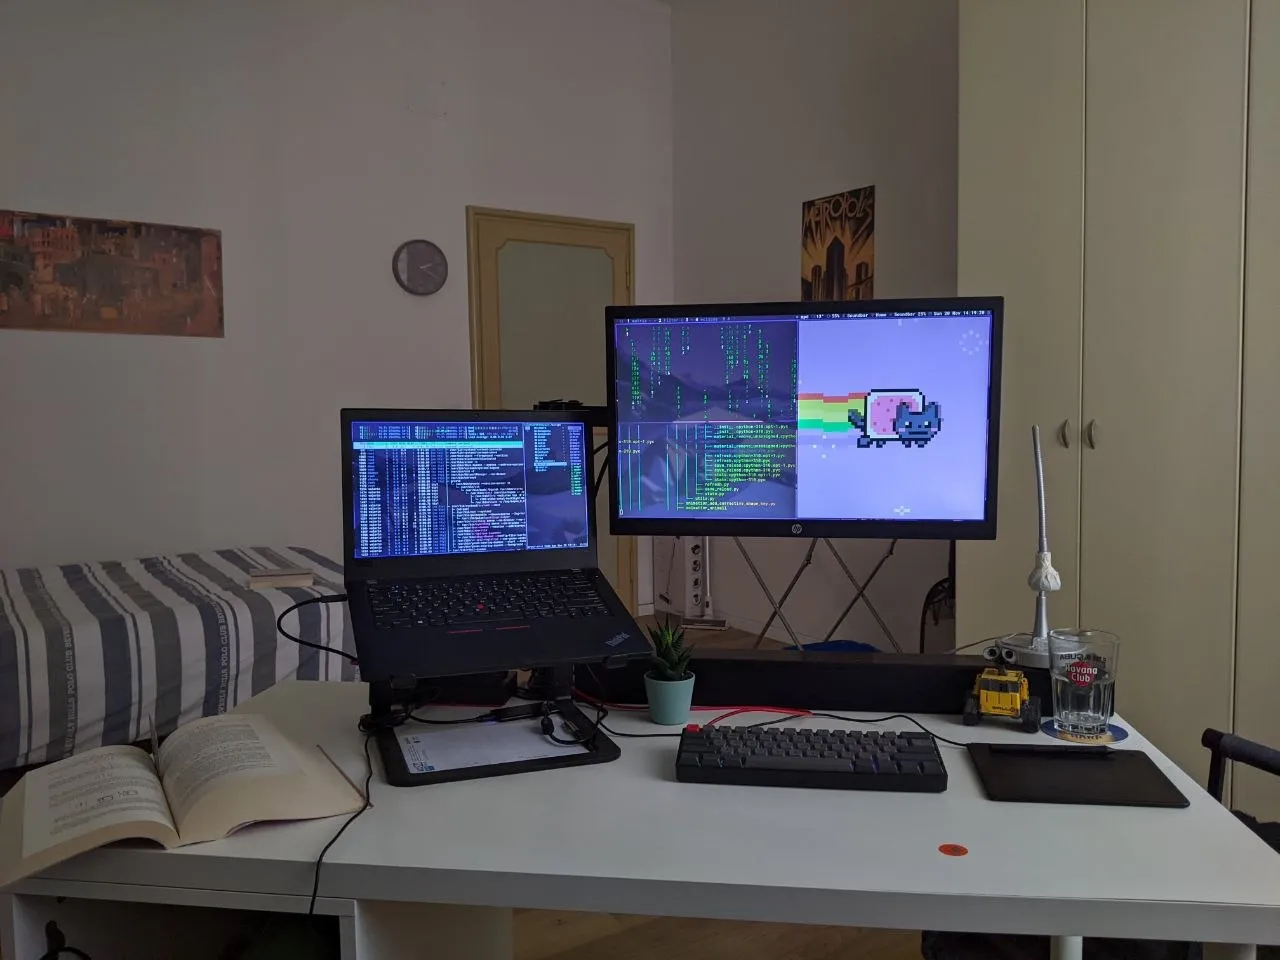
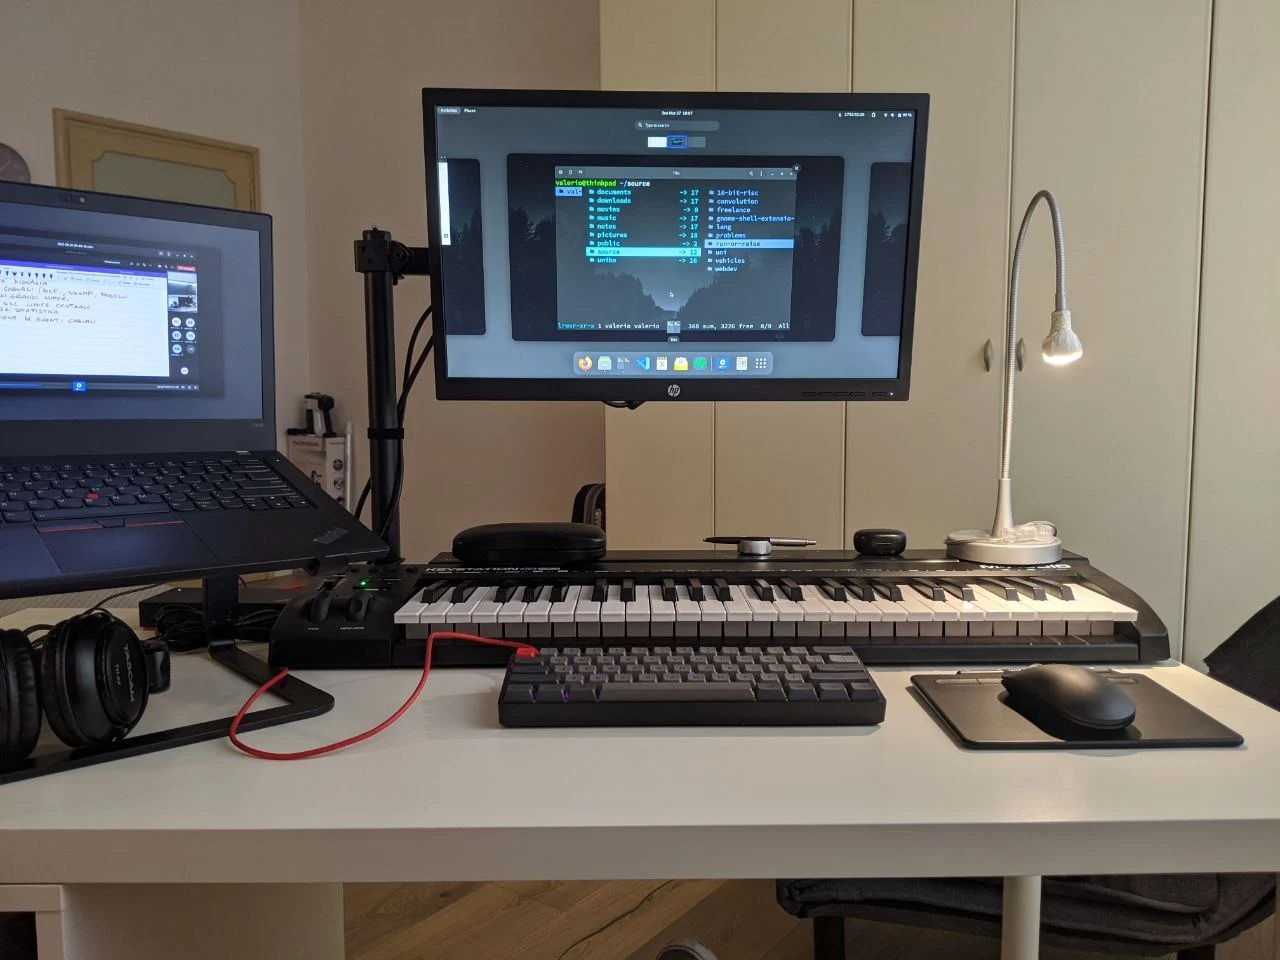
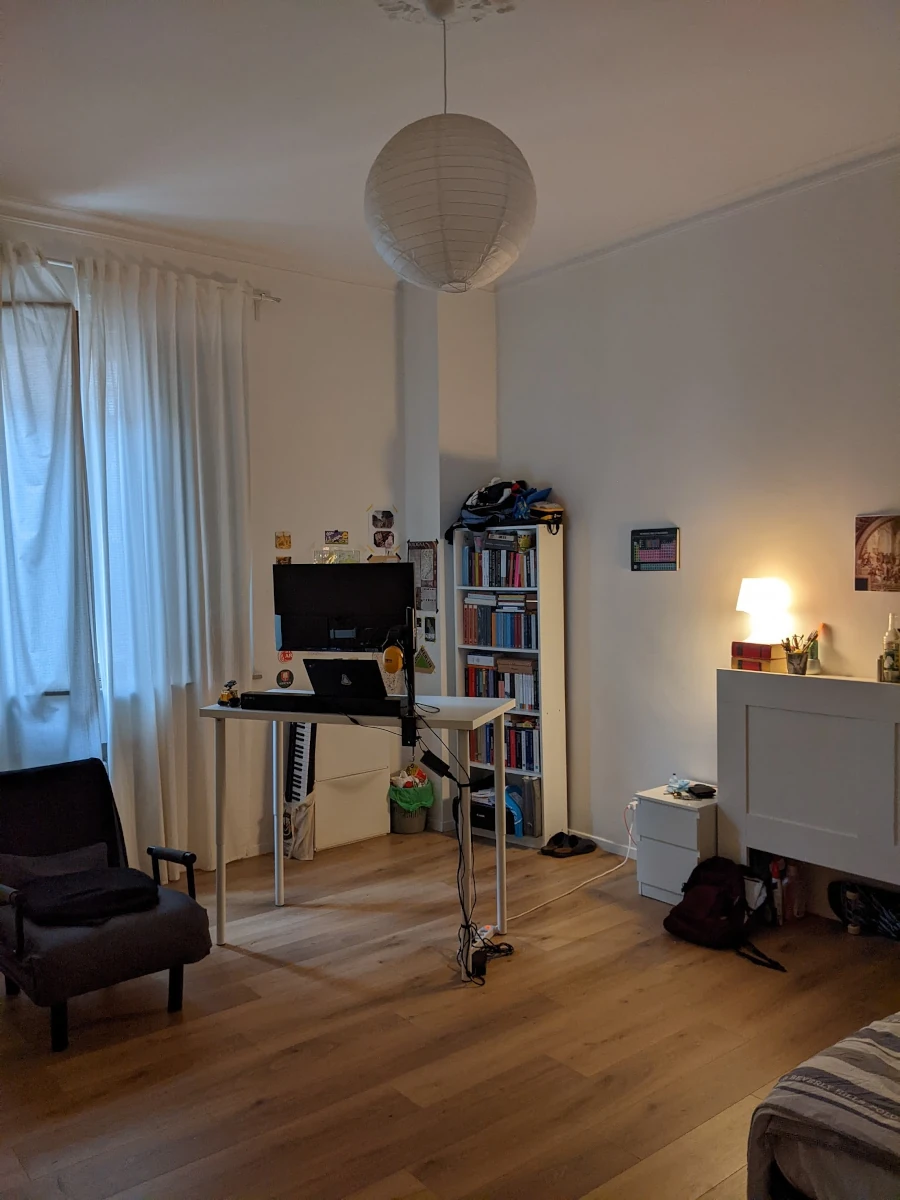
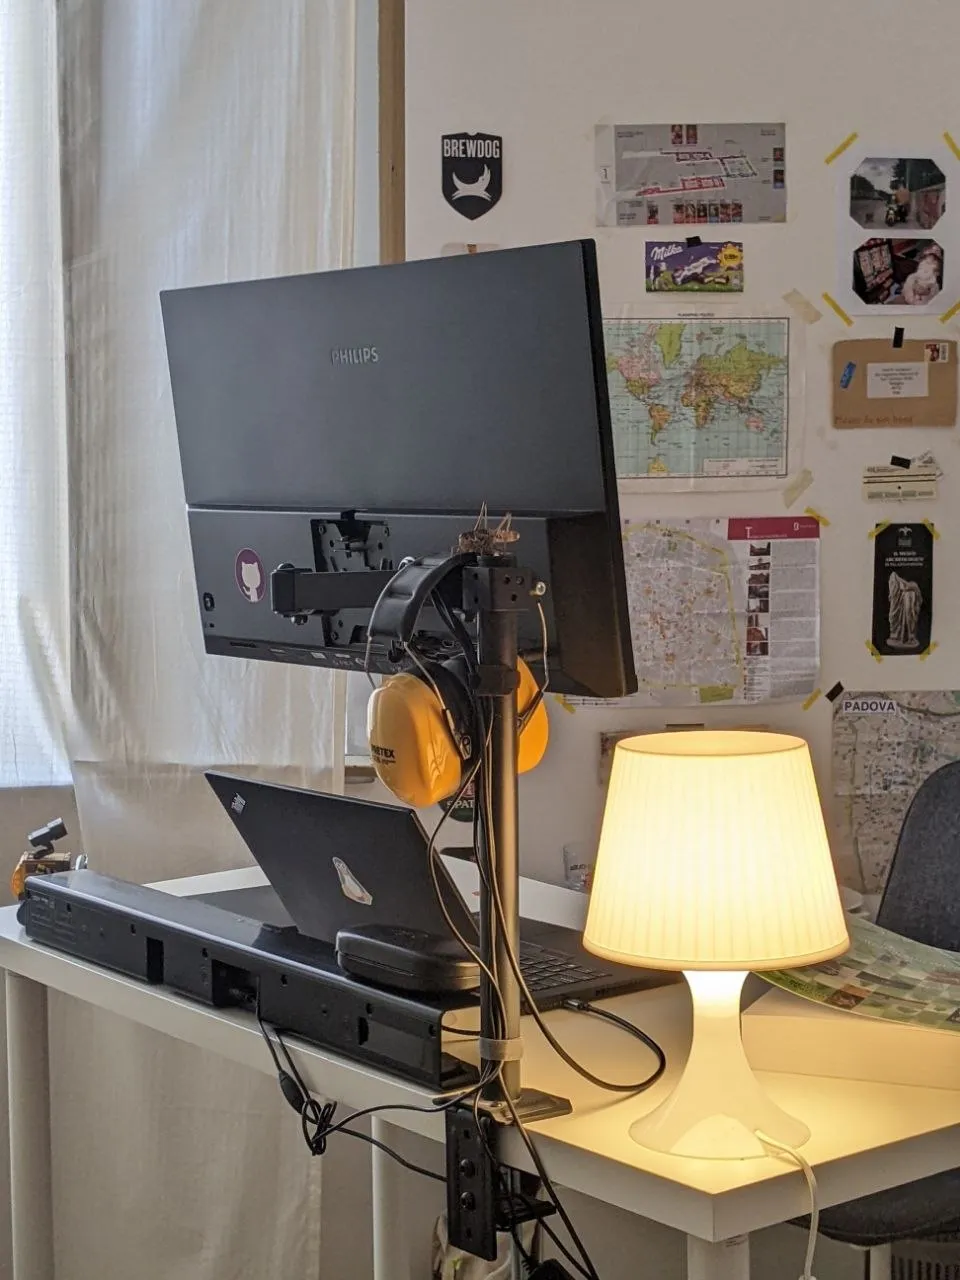
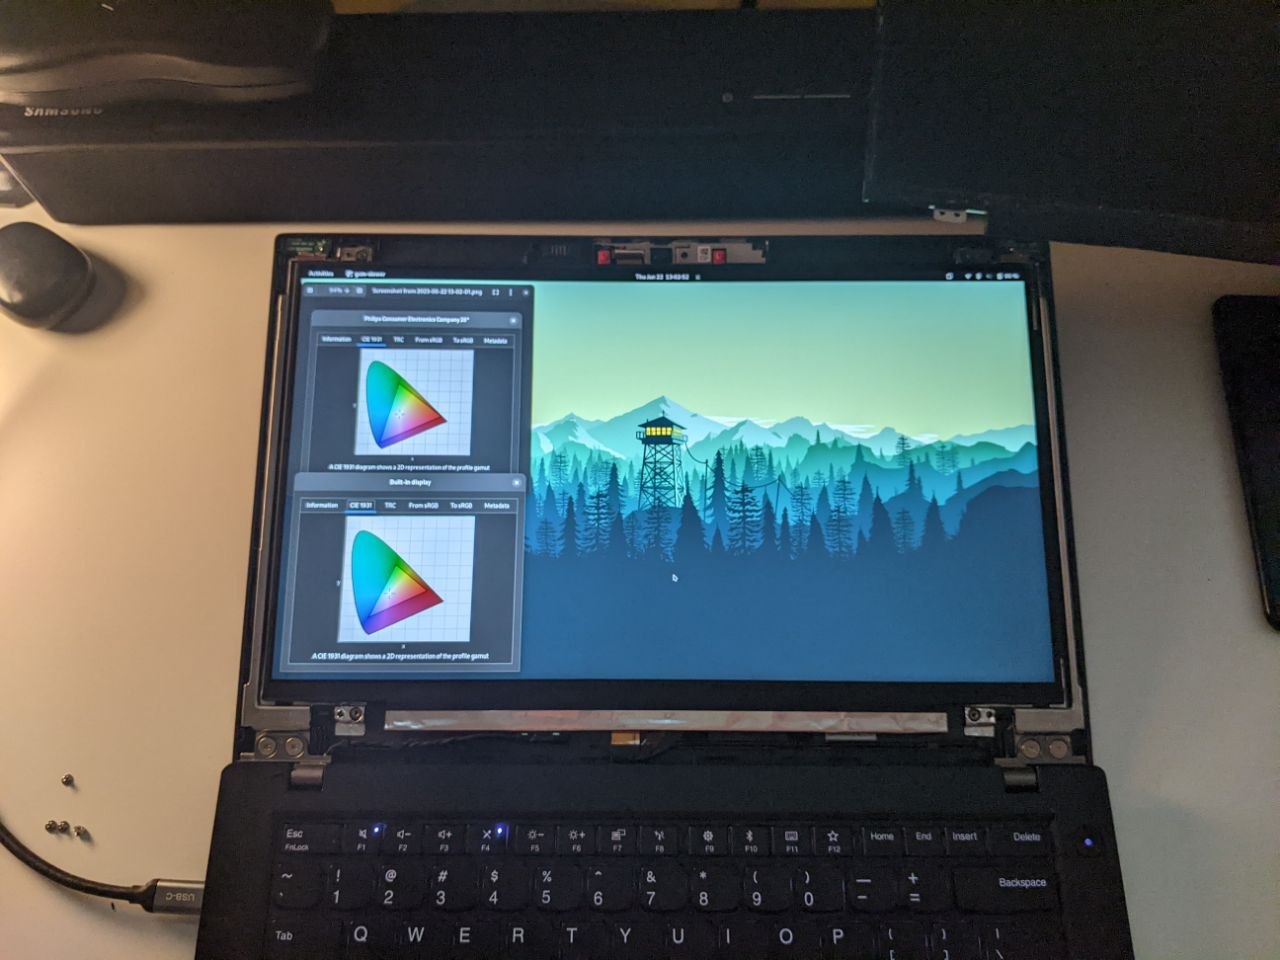
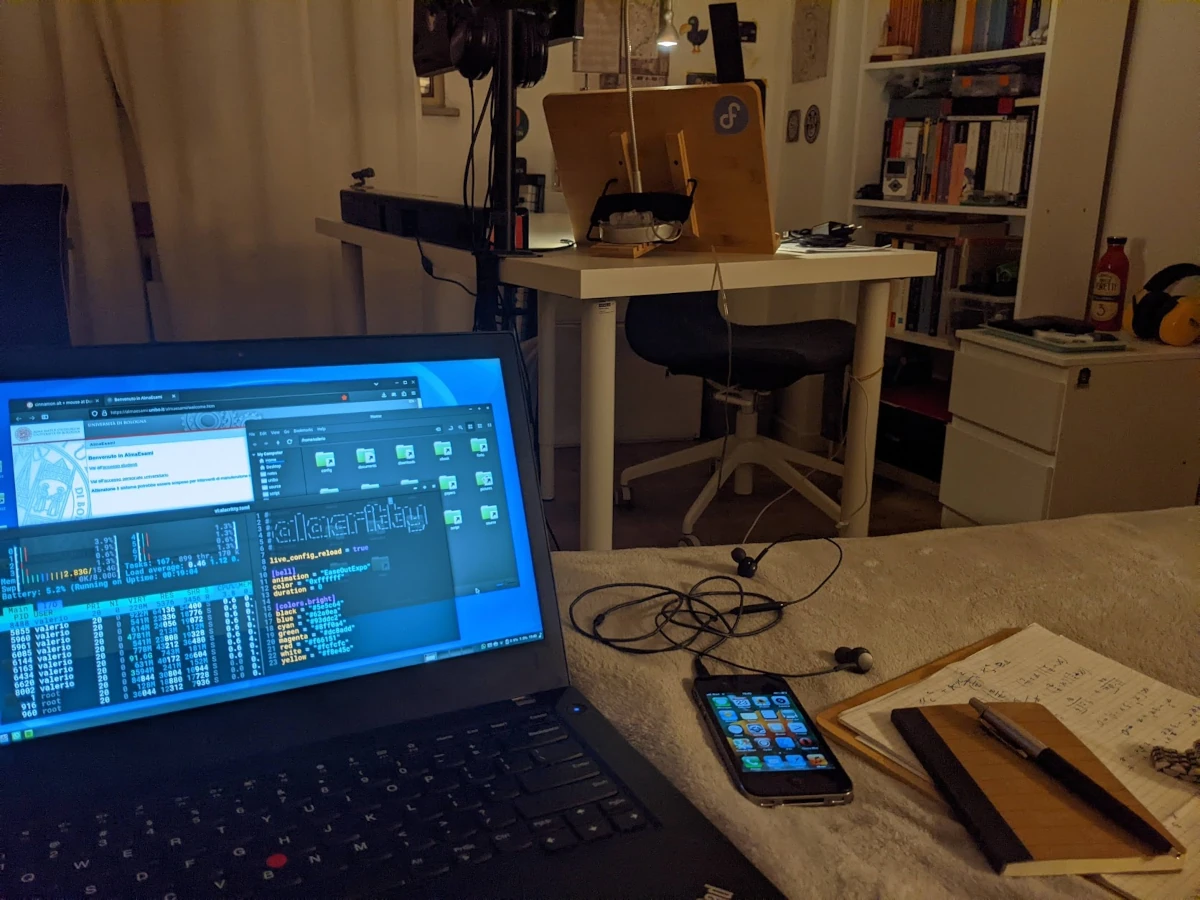
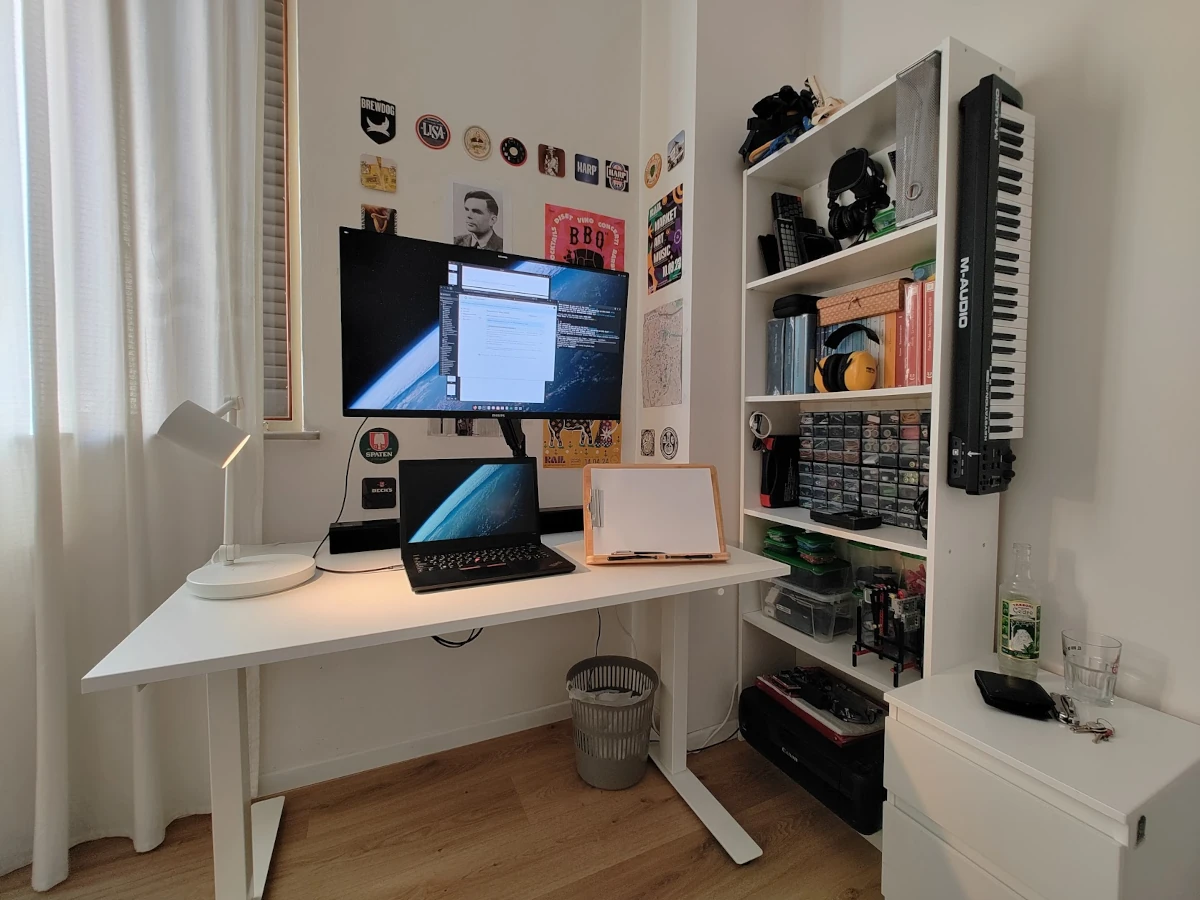
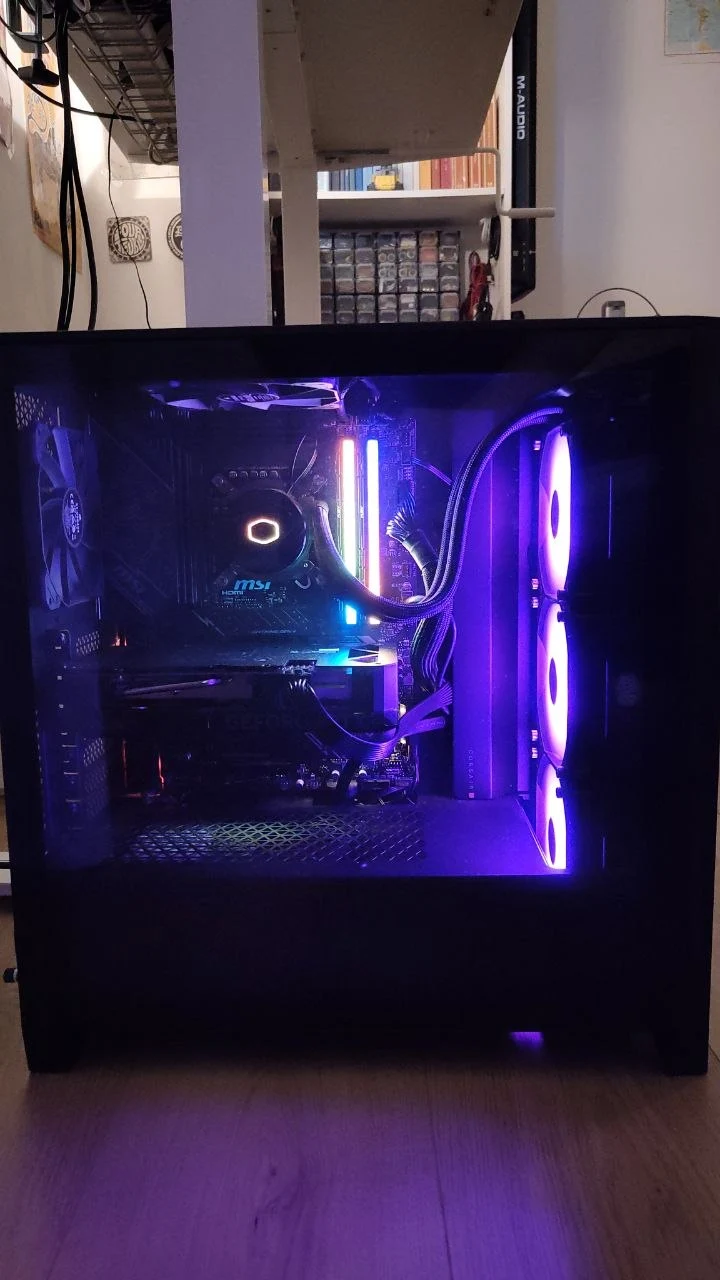
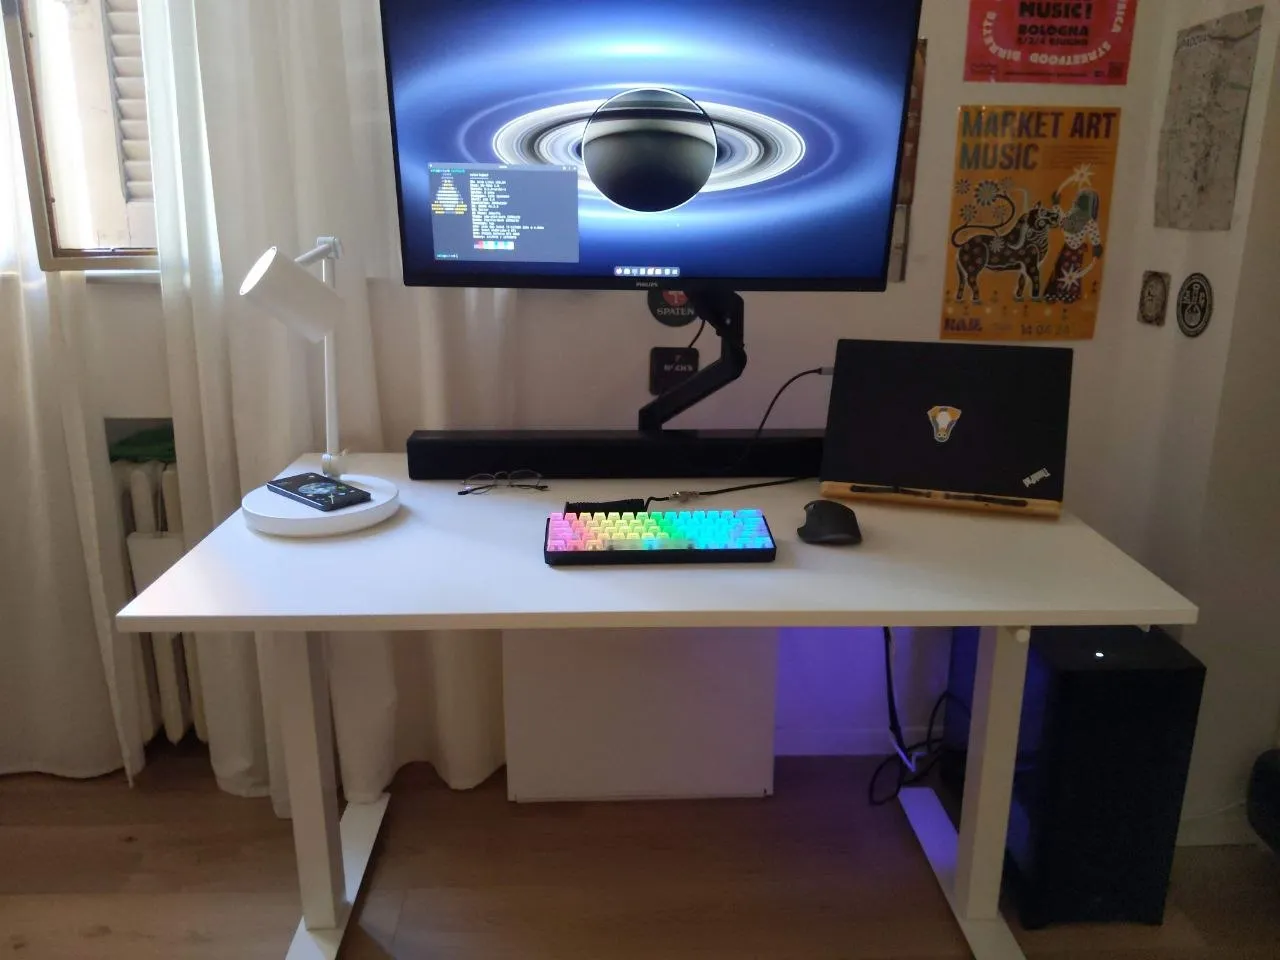
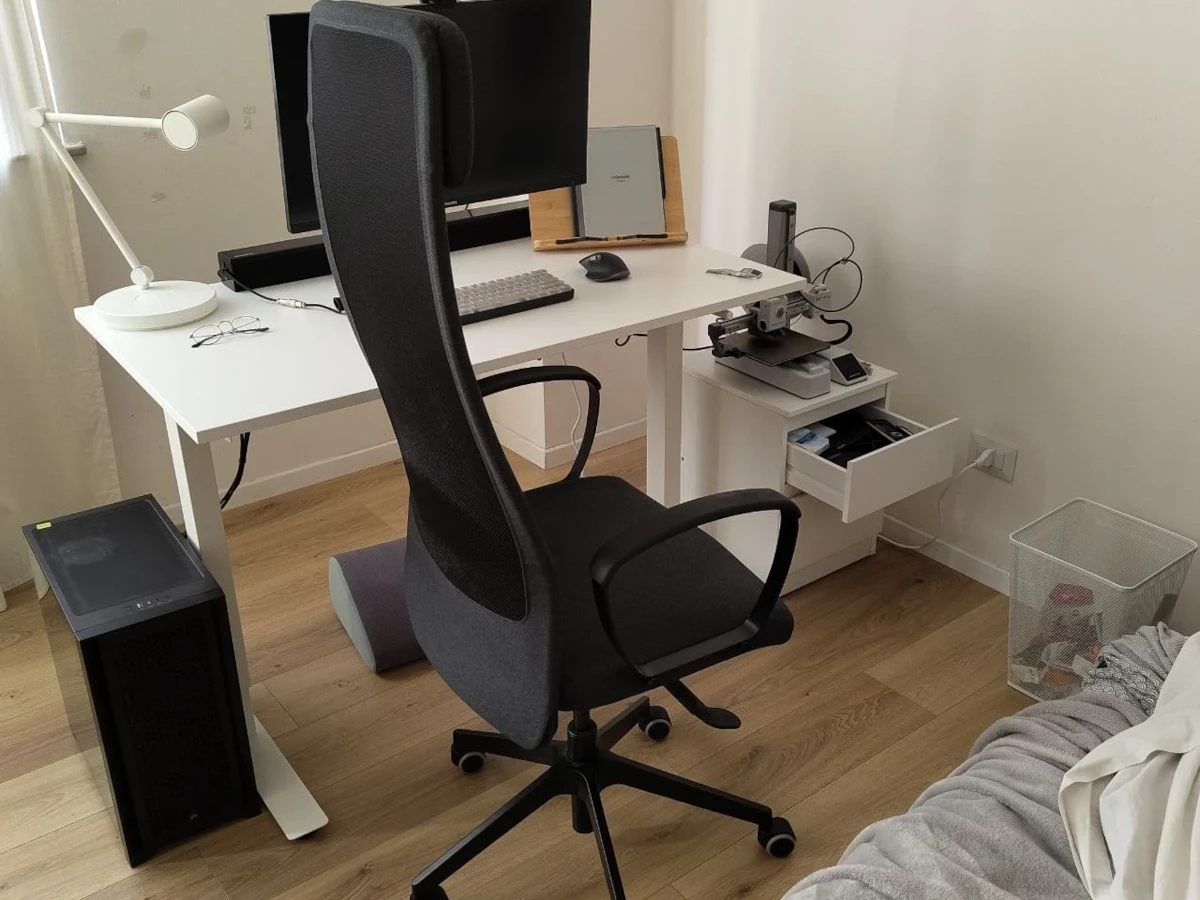
The original workbench was also an L shaped desk.
In this second slideshow we focus on the creation and the various iterations of the side desk, so these photos start from October 2025.
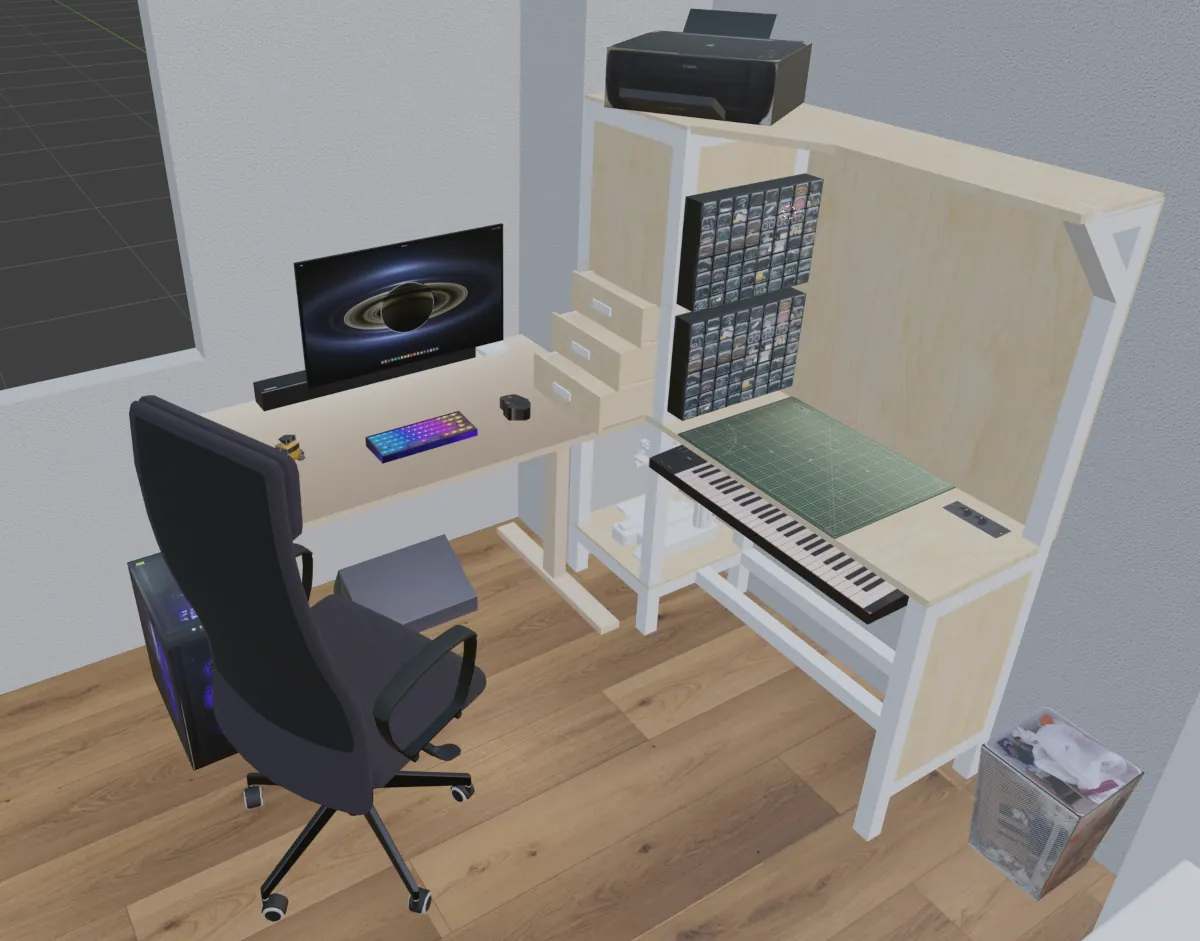
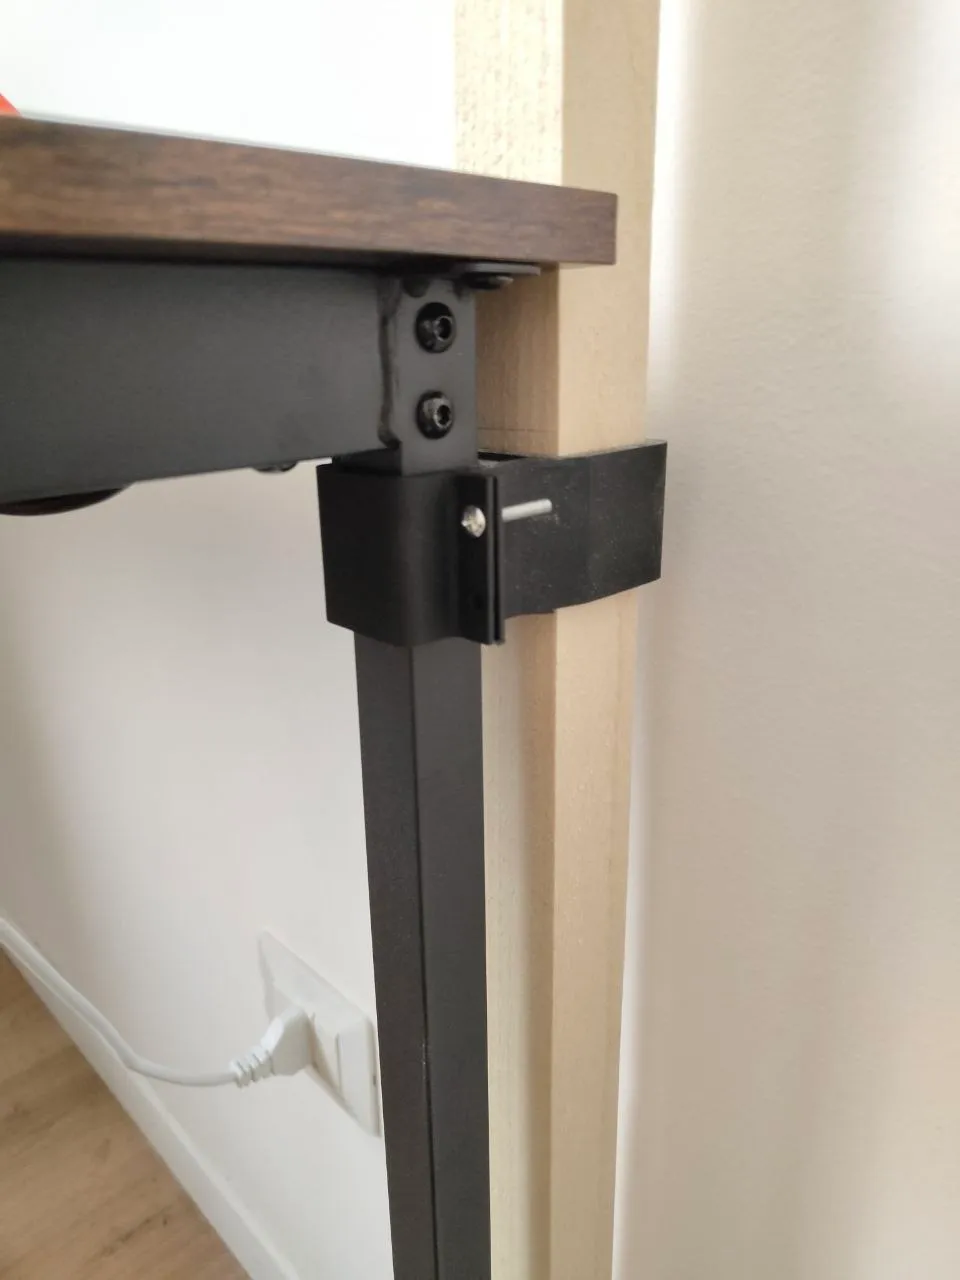
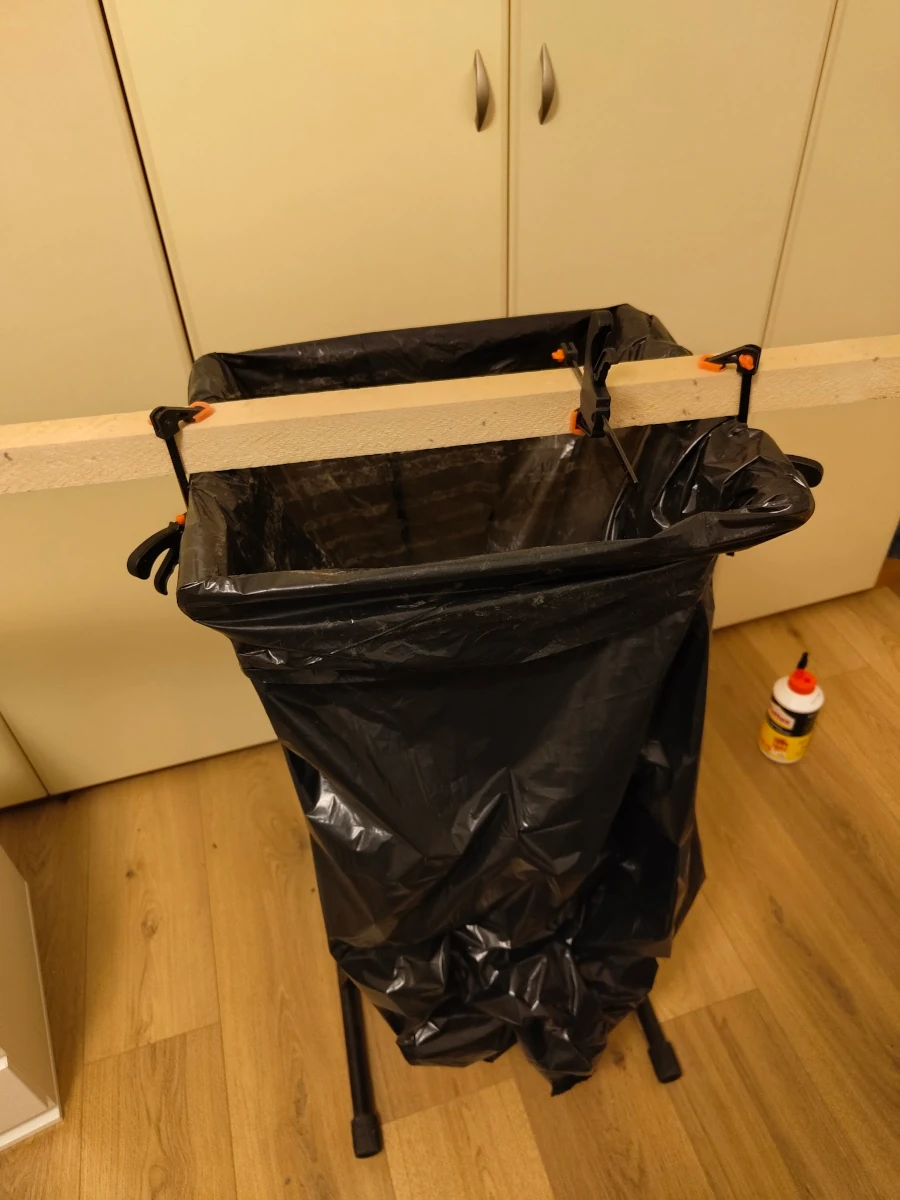
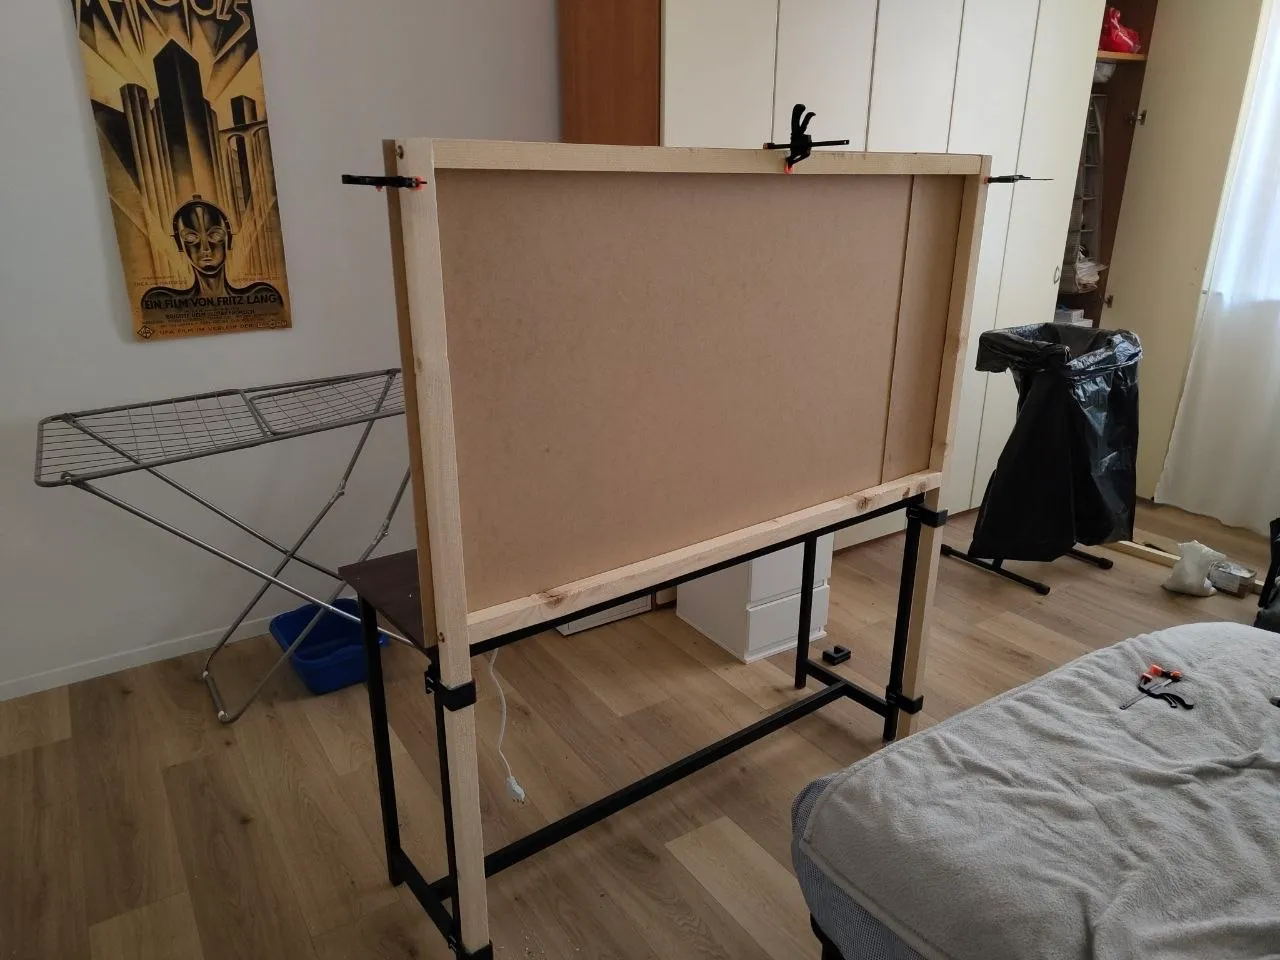
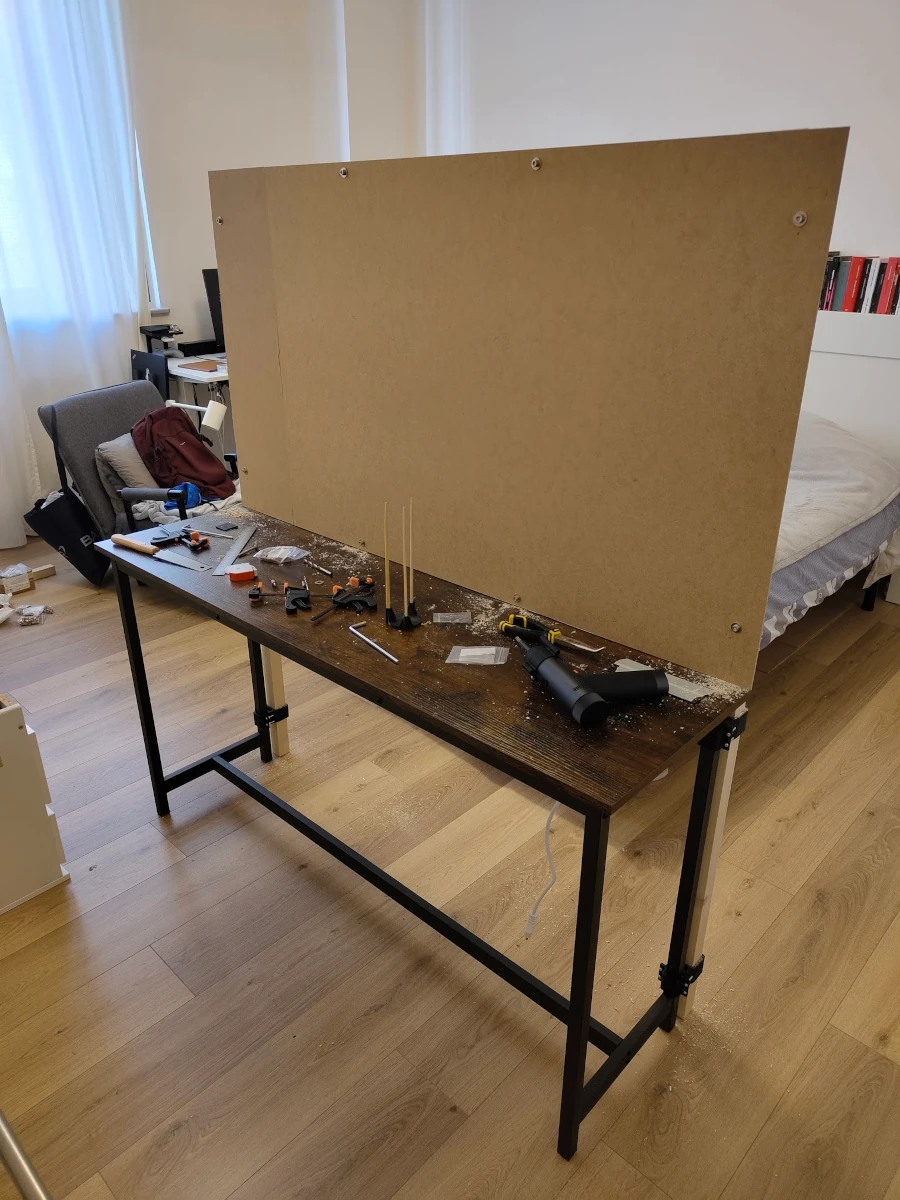
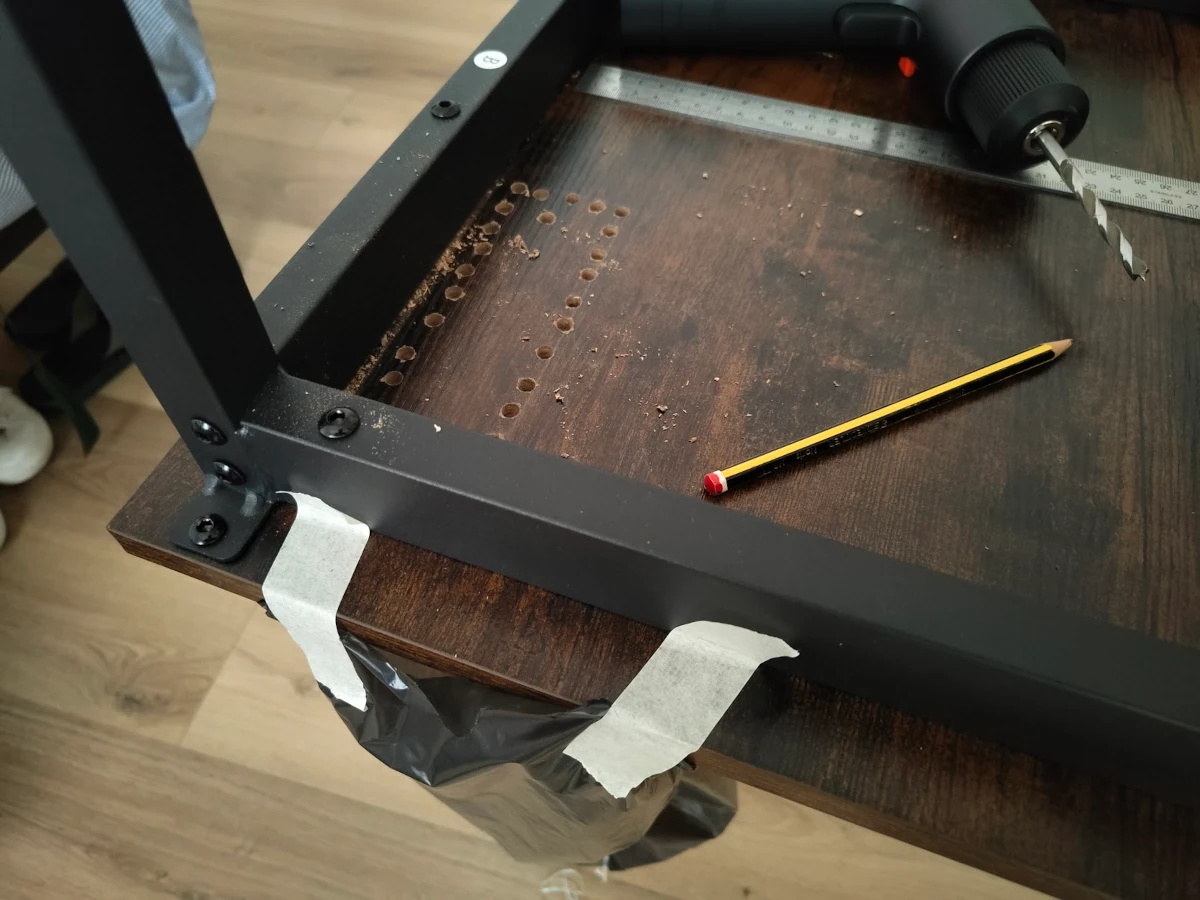
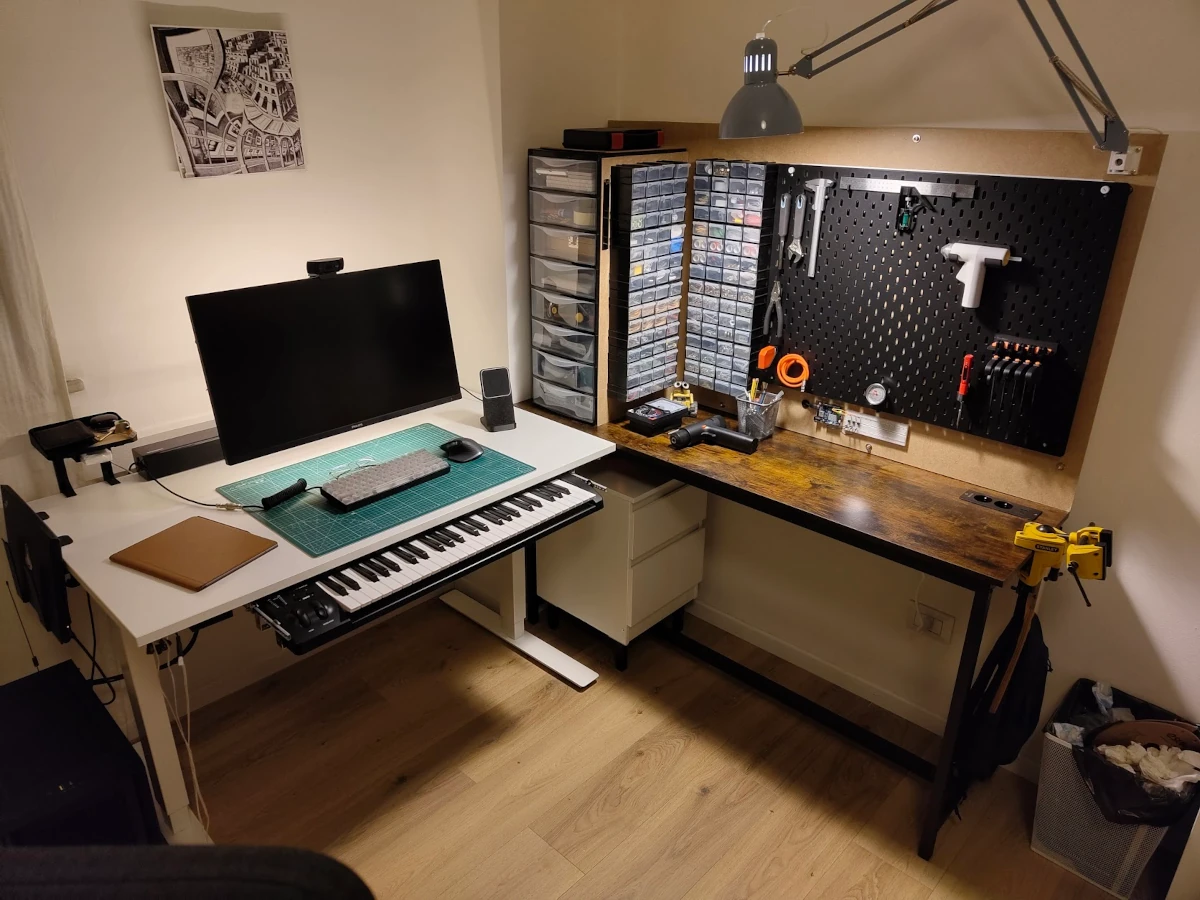
Designing the bench started in unsuspected times. In this 2024 blender render the dispositions were a bit different, but the general idea was already there.